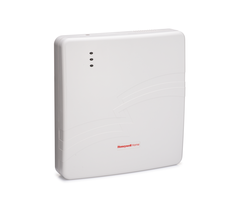
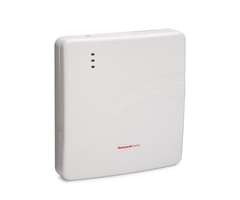
Lynx L3000: Connecting an External Communicator
Related Products
Description
In this video, Darrell from Alarm Grid shows you how to connect an external communicator to a LynxPlus or L3000 panel from ...
Transcript
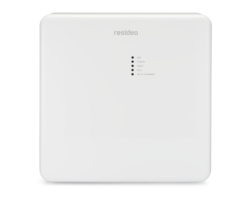
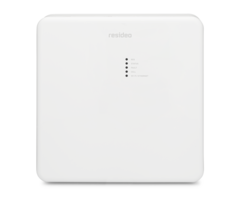
[AUDIO LOGO] Hi, DIYers. This is Darrel with Alarm Grid. Today we're going to talk about wiring the external communicator to the L3000 security panel. Before connecting your L3000 panel to your external communicator, you're going to want to make sure you power down both the panel and your communicator before starting. We're going to use the L3000 power adapter which will either be tan or white, and then we're going to use the smaller LTM or appropriate transformer for the communicator. Once it's powered down by unplugging that, we're going to open the unit. We're going to use both pins and push them in to open the unit and fold it down so it hangs open. We're also going to then follow the battery plug and unplug the battery. This will then ensure that your panel is completely powered down. Once the panels powered down, you're going to use the LYNXGSMEXTCB cable. Notice that there's four wires that are coming out of this cable, we're only going to be using red, yellow, and green for this installation. You're going to plug it into the side of the board where there's four terminal pins on some older Lynx 3000, it'll be at the top of the board up here. On ours, it's a rev 20, so it's going to be here on the side. Once you have it plugged in, you're going to route the wires through the back of your unit. And we're just going to set it close for a moment. Now we're going to move to the external communicator and our LTMP, we're going to open this by pressing both the tabs at the bottom of the unit to get it to release. We're going to open it up. We're then going to route our wires through the pre provided knockout in the wire channel here. We are going to pull the black wire away for a moment because we're not going to be using that one for our connection, we're going to be using green in our first terminal here on the left, which is the receive, and we're going to want to slide that in there and screw it down as tight as possible. Give it a little tug, make sure it doesn't come out. Then we're going to move to our yellow wire, which is our transmit, we're going to do the same thing. We're going to get it in there where it belongs. And we're going to screw it down tightly also. Give it a little snug, pull, make sure it doesn't come out. And we're going to move onto the ground wire. Normally this is already screwed in, but we unscrewed it, so we can remove this wire, which is our ground wire, which we're going through red wire as the wires are reversed from the panel to the communicator. We're going to get these two together. We're going to slide them in at the same time. May be kind of hard for they're too big. And then we're going to do the same thing and we're going to screw it in place also. Once again, give each wire a little tug, make sure they don't pull free. After making your connections and making sure they are secure and tight, we're going to close up the unit and power up the system. So first, before we do anything, we're going to make sure we have our positive, and negative terminals which will go to our battery. This is our test unit, so we don't have a battery with it at this time. Make sure the positive, negative are in the correct orientation. Then we're going to close the unit by folding this up, we're going to want to make sure we get it lined up at the top when we do this, because if we line it up at the top, it'll snap shut real easy. And just clip it at the bottom. And then we plug our transformer in, the unit, which will start the boot process on a communicator. Then we move over to our panel. We're going to plug the battery in first to the appropriate battery plug here. We're going to close it up also by snapping it together at the top. Make sure it's all snapped in. Then we're going to plug-in our power to our panel, and it's going to start boot up also. OK, DIYers, and that's how you wire the external communicator to the L3000 security panel. If you have any questions, send us an email to support at alarmgrid.com, or head to our website alarmgrid.com. If you found the video helpful, please like, subscribe, and hit the bell icon for future notifications. Thanks and have a great day.
- Uploaded