Qolsys IQ Panel 4: Connecting to AC Power
Related Products
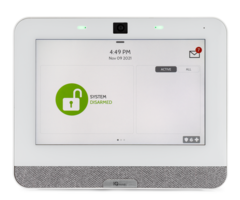
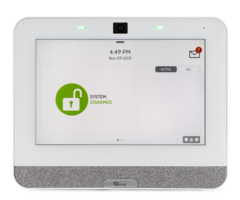
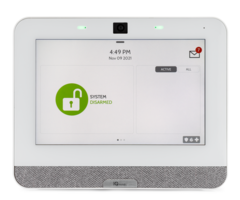
Description
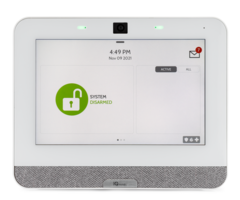
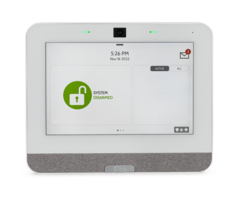
In this video, Griffin from Alarm Grid shows the viewer how to connect the Qolsys IQ Panel 4 to its transformer for primary power.
Transcript
[AUDIO LOGO] Hey, DIYers. Griffin here with Alarm Grid, and today we're going to go over applying power to the Qolsys IQ 4 system. So let's go ahead and let's get into it. So first thing we're going to go over is the type of connections. The IQ 4 comes with about an 8 foot cable, it has a barrel connector on one side and spade connectors on the other. This makes quick installation if your wire run is not going to be very long and you're near an outlet, so you can just put the barrel connector in and hook this up and drop the wire near an outlet and connect your transformer. But if you need to go further than 8 feet the recommended wire size is 18 gauge stranded. 18 gauge because what it is 18 gauge is what fits into the connections for the wires. The LT-Cable does not fit into the IQ 4 connections. So if you're not going to go very far, there's no need for the LT cable because you've got the cable that comes with it. So let's go ahead and let's take a look at the panel now. So on the back of the IQ 4, whenever you're taking it off the wall, this little screw down here is going to be on the bottom. So you would stick a Phillips screwdriver up through this little hole and loosen the screw so that way you would be able to pop it off the wall. So in this case, it's not on the wall, so we're just going to simply pop the back off of it. Like that. And when you pop it off, you'll see this little white block here. And what this is for, this is for your stranded wire, if you don't want to use the barrel connector or you need the wire run to go further than 8-feet. And if you look at the signs on the front of it, you'll see a plus sign, that's where your red wire will go. And you'll see a minus sign or a dash, that is where your black wire will go. The plus sign stands for positive voltage, the minus sign stands for ground. This panel does have polarity. So at the transformer, you want to make sure the red is on the positive, and the black is on the minus as well. For if you reverse those wires, in any way, you could possibly damage your panel. So what we're going to do is we're going to take a look on connecting the 18 gauge stranded wire into this little power block here. So again, make sure you pay attention to the colors of the wire. Red wire in positive side, black wire in the minus or dash or ground side. And so we're going to do is we're going to push these little gray tabs down. We want to push them down, and then so paying attention to my polarity. Red goes into positive, black goes into minus. And then we're going to slide those in. Now once you get them in there, push them until it doesn't move, and then release the gray tabs, and just push on them a little bit. Make sure they're up. That way whenever you give it a tug, it doesn't come out. And that's how you would make the connection on this little brick here. And again, just to show you the transformer. You'll see on this side, you'll see a positive side. Again, that's where your red wire goes. And on this side over here, is your minus sign, that's where your black wire would go for ground. So the next thing we're going to show is doing the barrel connector, and the connection for the barrel connector is this little black rectangle part. And so what we want to do is, we want to run the wire through the back part of the panel first. So that way we can have that and we can close it properly. And then we're going to connect the barrel connector. Sometimes it's easier if you've got big fingers, you can slide that in there. Like that. And then use a screwdriver to push it in. Just like that. And the barrel connected is connected, and then what we'll do is we'll close it. Make sure the barrel connector is pushed down. Like that, because if it's up like this, if it's up like that, you won't be able to successfully close it. And if you push too hard, this could possibly have been back and damage your connection. So you want to make sure that the barrel connector is down like that. And then we slide this in. Snap it in there. Then of course, we would tighten this screw down to secure the back. Make sure it's in there. When you remove your screwdriver, the screw will stay down, which is good. If it's not screwed in properly, that spring will push it back up. Then we're going to do is we're just going to show the barrel connections here. Now generally, from opening a couple of this, this comes already attached to the transformer. So but we're going to demonstrate it here just in case it's not or if they come off in some sort of way. So again, as described in the video previously, the red goes on the positive side, the black goes on the minus side. And you'll see that they both have the corresponding colors to indicate which side it should go on. So we're just going to slide these little spade connectors underneath the screws. Like so. And you'll want to kindly hold them in and then use a screwdriver. This is a flat tip, but it's a Phillips tip screw but the flat tip is small enough to fit in there. You tighten it down, get a little hand tight, and then quarter of a turn. Get it hand tight, a quarter of a turn. And so now we have a full connection of the panel-- wire to wire. Again, this wire is 8 feet long, has a good run. If you to need to drop it to a transformer, that's my recommendation at least 6 feet, gives you 2 feet to play with. And that's how you apply power to the Qolsys IQ 4 system. And if you have any questions, please don't hesitate to send us an email to support@alarmgrid.com or visit us at alarmgrid.com. And if you find this video helpful, please hit the Like, and Subscribe button, and don't forget to hit that bell on the bottom screen there. That way you can get future notifications of any videos that we do. And again, I am Griffin with Alarm Grid, and I'm happy to help.
- Uploaded
