Qolsys IQ Panel 4: Use SmartStart to Include Z Wave Devices
Related Products
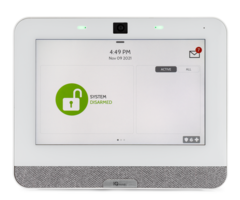
Description
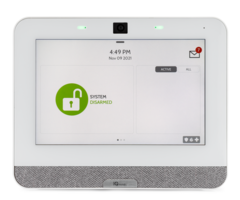
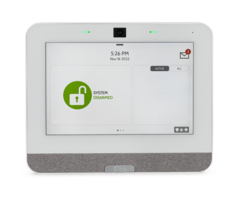
In this video, Dylan from Alarm Grid shows you how to use the SmartStart feature to add Z-Wave devices to the Qolsys IQ Panel 4.
Transcript
Hey, DIYers. Dylan here with Alarm Grid. Today, we're going to review the Z-Wave Plus SmartStart feature with the IQ Panel 4. This is essentially another way to get a Z-Wave device learned into your IQ Panel 4 without having to activate it via the function key. So you're going to want to make sure you're using a S2 Z-Wave Plus device with this. When you're reviewing the device or checking the packaging, there would be an indication on there if that device supports this feature. Essentially, what it is, is a QR code that's going to be on the packaging for the device. And it's also going to be on the device itself. We're going to hold this up to the panel camera on the Qolsys IQ Panel 4 and that is going to get these paired. So let's go ahead and get that process started. OK. So let's go through the SmartStart feature. So, again, the QR code is right here. This is a Z-Wave Plus S2 light bulb. We have our QR code there. And then like I mentioned before, you also have it on the packaging as well. So either way, either through the device itself or the packaging. So we're going to go into our gray bar, we're going to go to settings. We're going to go to advanced settings. Enter user code. We're going to enter the default installer code. We have our still set to 1111. We're going to go to installation, devices, and then Z-Wave devices. So we see right here at the bottom we have the SmartStart feature. And we're going to get a nice view of our cameraman behind the screen here. All right. So this is going to activate the panel camera right here and what we're going to do is we're going to hold up the QR code from either the box or the device itself to this camera. And then actually, real quick as well, we see a keypad here that says enter the DSK. The DSK, that's not on the device itself, that's going to be only on the packaging here, and that's this long string of numbers. So if you don't want to enter all these numbers, we can just do the camera feature, which is much easier. So let's go ahead and get this paired. So I'm going to have the QR code on the bulb face the panel camera. And then you may have to put it a bit close and then pull it out a little bit and just keep it centered. Perfect. It picked it up here. We have the type, we have the name, we have a preview of that DSK code. We're going to press add. OK. So we have the pairing process started here. It picked up the light, but our network status here is showing not in network. So that essentially means that the bulb and the closest panel are not fully connected yet. We're going to get that resolved by just activating the device. So let's plug our light in here. Now sometimes they'll pull in right away but let's just try to turn this on and off a few times. Let's see. Adding light to the network. There we go. So sometimes right when you activate it, it will pull in, but if not, just activate the device a few times. It can take a few seconds as you saw there, but we now have the network status as included. So perfect. All right. And then-- so since we have our Z-Wave device now paired to the panel. Added to network successfully. Perfect. Just letting us know it's fully added. We can go here we see the light is showing on. We have the option to dim it if we'd like. Put that all the way back up. We can select the light and turn it off fully. You can select it again, turn it back on. And that is the smart setup for the S2 Z-Wave Plus bulb that we have here. So we got the connection working. We can run it from the panel and we know that we now have that connection. OK. So that was the Z-Wave Plus S2 SmartStart feature. We got that paired, we got it tested, everything worked fine. So very easy, always good to go, saves us time and saves us the headache of setting everything up. If you did enjoy the video, please subscribe to our YouTube channel and click the bell icon to be notified about any future videos. If you have any questions for us, feel free to reach out. We can be contacted by phone number. Our phone number is 888-818-7728 or you can also email us. Our email address is support@alarmgrid.com. Once again, my name is Dylan and thank you for watching.
- Uploaded
