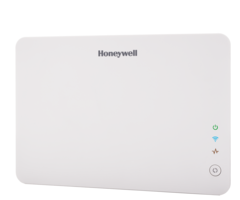
Honeywell VAM: Setting up E-Mail Notification on the VISTA Automation Module
Related Products

Related Categories
Description
The Honeywell VISTA Automation Module (VAM) is a Z-WAVE controller that works with Honeywell's VISTA series panels. This video shows you how to setup email notifications on the VAM. For those looking to add remote home automation to their Honeywell wired security system, but who aren't interested in the added functionality of a Tuxedo Touch AUI screen, the VAM is the perfect option for you. It, along with Total Connect, will allow any user to get the most out of their system.
Transcript
You can enable the Vista Automation Module, or VAM, to send email alerts to one or several email accounts. From a tablet device, select the VAM Automation icon to open the Automation Controller home screen. Select the set-up icon. You will now be in the set-up screen. Select the email icon. You will now be in the Email Notifications Set-up Screen. Select the email account you want to send messages from by selecting the user SMPT icon. Select the email server from the dropdown menu, type in the user's email address and the user's password. Messages from the VAM will be sent from this email account. When done, select the save icon. Then select the green check mark. You can set up to four events where each event can be sent to multiple email addresses.
For this example we will set one event and one email. Select the event one icon. You will see several event types and triggers, as well as the email address window. For this example, the security icon is highlighted. Select the check box next to it. Let's send an email to the users Gmail account when the security system is disarmed. Select the disarm check box. Select the email address window. The user can send alerts to up to four email addresses. Select the email one check box. Enter the recipients email address. This can be a different email address than the sender email address. When complete select the email addresses you want to send to by selecting a check mark next to each one. When all entries are completed select OK. Select the save icon, then the green check mark.
Select the home icon to return to the VAM home screen. We will now arm and disarm the security system to test the email notification you just set. Select the security icon arm away by selecting the away icon, then selecting the user code using the keypad. Now disarm the system by selecting the disarm icon, then selecting the user code using the keypad. In a few moments, check the user's computer or mobile device for the email alert message. Congratulations, you have successfully set up the email alerts.
- Uploaded
- Duration:
