How Do I Add a Wireless Zone to an Interlogix Simon XTi or XTi-5?
You can add a wireless zone to an Interlogix Simon XTi or XTi-5 by putting the system into its learn mode and then opening up the sensor. This will activate the sensor's tamper switch so that it can be recognized by the system. You will then adjust the settings for the new wireless sensor.
Up to 40 total zones can be added to a single Simon XTi or XTi-5 System. Each sensor is assigned a Sensor Number for identification. It is also assigned a Sensor Group to determine the action the system will take when the sensor is activated. The sensor can also be assigned a name that can be spoken out by the panel when the sensor is activated. This will make it easy for the user to identify the sensor.
Complete the following steps to add a wireless zone to an Interlogix Simon XTi or XTi-5 System:
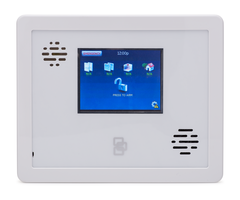
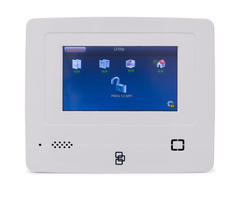
1. Access learn mode. Wireless sensors are learned in through the system's learn mode. Start from the home screen of the Simon XTi or XTi-5. Click the gear icon in the lower-right corner of the screen. Then scroll down to "Programming", and click "Enter". Then enter in the system's Installer Code. This code is set to 4321 by default. Once the Installer Code is entered, press "OK". Then choose "Sensors", followed by "Learn Sensor". The message "Trip New Sensor" will be displayed. This indicates that the system is in its learn mode.

2. Active the tamper switch. Take the wireless sensor, and remove its back cover. This will activate the tamper switch on the sensor. The system will automatically recognize this, and it will learn the sensor in. If the process was successful, the XTi or XTi-5 Panel will beep, and the options for editing the sensor will be displayed.
3. Adjust the settings. On this screen, you can adjust the settings for the sensor. The Sensor Number is assigned automatically, and it does not play a role in the operation of the sensor. However, you can choose a different Sensor Number if desired.
The Sensor Group is very important. This option determines the type of action the system will take when the sensor is activated. For a complete list of Sensor Groups, please consult pages 5-6 of the Simon XTi Installation Manual.
The Sensor Name determines the name the panel's voice function will speak out when the sensor is activated. Choose a name that will make the sensor easy to identify. The Product Code is optional, but it can be used to provide the sensor's serial number.
Once you have finished adjusting the settings, click the "Save" button in the upper-right corner of the screen. The panel will save your changes. This may take a few moments to complete.
4. Exit programming. Repeatedly click the "Close" button in the upper-right corner of the screen until you are returned to the home screen. This will exit programming so that you can use your panel as normal.
Did you find this answer useful?
We offer alarm monitoring as low as $10 / month
Click Here to Learn MoreRelated Products
Related Categories
- Answered