How Do I Calibrate an Alarm.com Camera for Video Analytics?
You can calibrate an Alarm.com Camera for Video Analytics by first putting the camera into calibration mode from the ADC Website or Mobile App. Then you will take five (5) photos with a person's entire body in view. You will adjust the bounding box for each photo to finish the calibration.

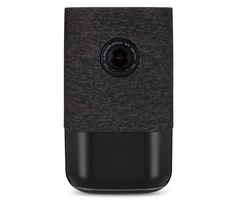
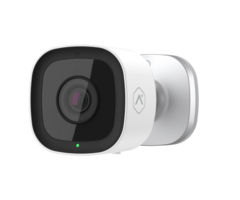
As of August 2019, there are only two Alarm.com Cameras that require calibration to support Video Analytics. These are the ADC-V622 and the ADC-V723. Calibrating the camera will ensure that Video Analytics work as well as possible. The process for calibration is very easy, and it can be completed by most end users. Either the Alarm.com Website or Mobile App can be used for this process.
Keep in mind that if this is the first time the camera is being configured for Video Object Detection, any existing Video Motion Detection rules for the camera will be deleted. You will need to add them back later. Remember to do this so that the camera continues to work the way that you want it to..
The following process will assume that your Alarm.com camera is already enrolled with your Alarm.com account. Complete the following steps to calibrate your Alarm.com Camera for Video Analytics:
1. Enter calibration mode. You can put an Alarm.com Camera into its calibration mode through either the Alarm.com Website or Mobile App. Start by logging into your Alarm.com account. If you are using the website, select Video > Settings > select the camera from the Video Device dropdown menu > Video Analytics Calibration.
If you are using the Alarm.com Mobile App, start by choosing the Menu icon, which is the three horizontal bars. Then choose Video. Then choose the Settings icon, which is the picture of the single gear. Then choose Calibrate Cameras. Press the > button next to the cameras that you want to calibrate.
2. Calibrate the camera. You will be given instructions to follow as you move through the calibration process. Start by clicking the blue Continue button. You will now need to take five (5) photos that will be used to complete the calibration. Each photo should feature a person's entire body from head to toe. To make the calibration process as effective as possible, the person should be standing at varied distances away from the camera each time. Just make sure that their entire head and feet are in each image. You may want to get a second person to help you complete the process.
When you are ready to take a photo, click the grey Take Photo button. If you accidentally take a photo that does not contain the individual's entire body, you can press the Retake Photo button to try again. After each photo, adjust the bounding box to fit exactly around their body in the photo. The top of the person's head and the bottom of their feet should be fully contained within the bounding box. When the bounding box is in the proper position, click the blue Next button to move onto the next photo. Continue to do this until you have taken five (5) photos and adjusted the corresponding bounding box in each one.
3. Complete the calibration. After you have taken five (5) photos and adjusted the bounding box for each one, click the blue Submit button. You will then get a message stating that the calibration process is complete. Click the blue Done button to finish. Remember that you should repeat the calibration process if the camera is ever moved.
Did you find this answer useful?
We offer alarm monitoring as low as $10 / month
Click Here to Learn MoreRelated Products
Related Videos

Related Categories
- Answered