How Do I Enroll a Z-Wave Lock to My Interlogix Simon XTi or XTi-5?
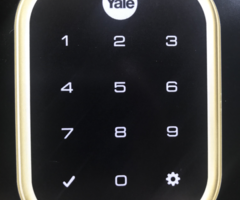
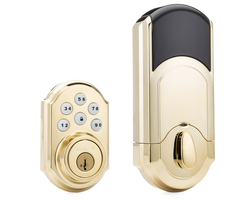
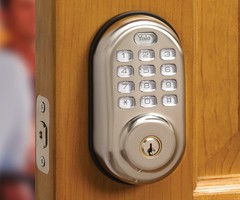
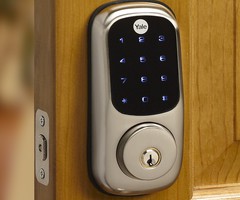
You can enroll a Z-Wave lock to your Interlogix Simon XTi or XTi-5 by putting the panel into its Z-Wave inclusion mode and then activating the lock's inclusion function. You should clear the lock from the network before trying to enroll it. A Z-Wave controller is needed to support the lock.
Complete the following steps to enroll a Z-Wave lock to your Interlogix Simon XTi or XTi-5 System:
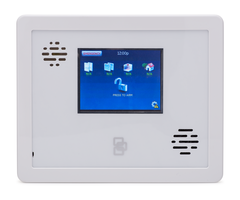
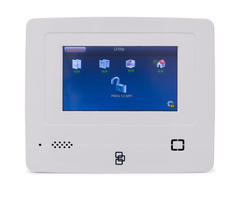
1. Access system programming. Start from the home screen of the Simon XTi or XTi-5 System. Click the gear icon in the lower-right corner of the screen. Use the down arrow on the right side of the screen to scroll down to the "Programming" option. Click the "Enter" button next to this option. You must then provide the Installer Code for the System. By default, this code is set to 4321. Once you have entered in the code, press the "OK" button. You will then access system programming.

2. Clear the lock. We always recommend clearing a Z-Wave device from the network before attempting to learn it in. This is because many Z-Wave devices are added to a Z-Wave network before they even leave the factory for testing purposes. To clear the lock, choose the "Interactive Services" option. Then select "Z-Wave", followed by "Remove Device". The panel will display the message "Press button on device to remove...", which indicates that it is in its Z-Wave exclusion mode.
Next, activate the inclusion function on the Z-Wave lock. This function is activated in different ways on different Z-Wave locks. Some locks have an inclusion button on the back, while other devices may require a specific code to be entered in. Check the lock's user manual to learn how to activate the device's inclusion function. It is often necessary to bring the lock close to the panel so that the command can go through properly. Once the panel recognizes the lock, the message "Device deleted" will be displayed. This indicates that the lock was cleared from the Z-Wave network. Then press the "Close" button in the upper-right corner of the screen to return to the previous menu.
3. Enroll the lock. Select "Add Device". The system will show the message "Press button on device to add...". This message indicates that the system is now in its Z-Wave inclusion mode. Activate the inclusion on the Z-Wave lock using the same method that was used in Step 2. Again, it may be necessary to bring the lock close to the panel in order for the command to go through successfully. Once the system recognizes the device, a message will be displayed stating that a device has been added. A device number will also be displayed. You may want to write down this device number for future reference. Then click the "Close" button in the upper-right corner of the screen.
4. Test the lock. With the lock enrolled, it should be tested for proper function. The lock will need to be installed in the door. Make sure that the door can be successfully locked and unlocked using Z-Wave communication. This can be done directly from the system or using the Alarm.com service. If the door can be locked and unlocked successfully, then the lock was programmed with the panel correctly.
Did you find this answer useful?
We offer alarm monitoring as low as $10 / month
Click Here to Learn MoreRelated Products
Related Categories
- Answered