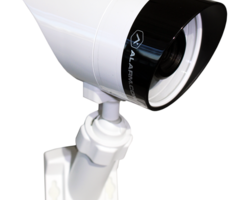
How Do I Mount the ADC-V721W?
You can mount the ADC-V721W by first marking the holes for the screws that will support the mounting plate. Then drill the holes for the screws. Then screw the mounting plate into the wall. Then attach the camera to the mounting plate, making sure that the camera is angled properly.
Complete the following steps to mount the ADC-V721W Camera:
1. Mark the holes. The mounting plate for the ADC-V721W contains spots for two screws. You must drill two holes for these screws to be inserted into. Marking the locations for these holes before drilling them will help to ensure proper placement. Hold the mounting plate for the device against the wall in the spot where you want to place the camera. While doing this, use a writing device to mark the locations of the holes. The camera is adjustable, so you don't necessarily need to use a level, but you can if you like. You may also want to mark a third hole in the center for the power cord. The mounting plate and the locations for the screws are shown in the following picture:

2. Drill the holes. Use a power drill to drill the holes that you have marked. For the screw holes, make sure that they are the appropriate size for the screws that you will be using. The ADC-V721W comes with screws, as well as wall anchors that can be used if desired. Remember to accommodate for the wall anchors if they are being used. The center hole for the power cable must be large enough to fully accommodate the cable.
3. Attach the camera. It's helpful to attach the camera to the mounting plate before installing the mounting plate. This will prevent the camera from dangling awkwardly while you install the mounting plate. Use the included small parts to screw the mounting plate onto the camera. Don't screw the mounting plate on too tightly, as you will want to adjust the positioning for the camera later.
4. Install the mounting plate. If you are using wall anchors, apply them inside the holes. Run the power wire through the center hole that was drilled. This will allow you to focus on getting the mounting plate and camera situated. Hold the mounting plate up against the wall so that the screw holes are aligned over the two holes that you drilled earlier. Hold the mounting plate and camera steady while you screw in the two screws that will support the mounting plate.
5. Adjust the camera. Adjust the positioning of the camera so that it is aligned properly. Once the camera has the desired positioning, use the attached mechanism to fully tighten the mounting plate. If the camera was installed upside down, it's not a problem, as you can flip the image on Alarm.com.
The final setup is shown in the picture below:

Did you find this answer useful?
We offer alarm monitoring as low as $10 / month
Click Here to Learn MoreRelated Products

- Answered
