How Do I Install an Alarm.com Camera?
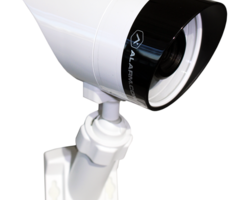
You can install an Alarm.com Camera by applying its mounting plate to the wall. To do this, you must drill holes into the wall and then screw the mounting plate onto the wall. You can then attach the camera to the mounting plate. Finally, adjust the positioning of the camera to your liking.
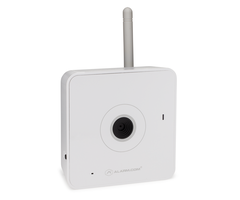
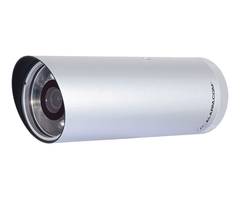
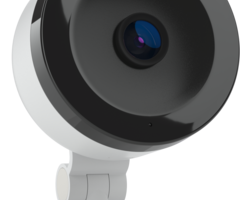
Please note that some Alarm.com Cameras have desk stands that essentially eliminate the need for installation. For these cameras, simply place the camera on a steady flat surface, and plug it in to apply power. But for ADC Cameras that need a mounting plate and screws, the process outlined below applies.
Complete the following steps to install an Alarm.com Camera:
1. Mark the holes. Most Alarm.com Cameras come with a mounting plate that will support the camera. The mounting plate is secured to the wall or ceiling using screws. You must drill holes for the screws to go into. Hold the mounting plate up against the wall and mark the locations of these holes. This will help to ensure that the holes are spaced properly. The camera position is adjustable, so a level is not required, but you can use one if you prefer to do so. During this time, you may also want to mark the location for a center hole that will be drilled for the power cord.
2. Drill the holes. Use a power drill to drill the holes that were marked. Make sure that the holes are the appropriate size for the screws that you will be using. Most Alarm.com Cameras come with screws and wall anchors that are perfect for this application. Remember to accommodate for the wall anchors if you intend on using them. If you are also drilling a hole for the power cord, make sure that the hole is large enough for the cable to fit into.
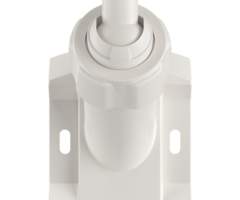
3. Install the mounting plate. If you drilled a hole for the power cord, you can run the cord through the hole at this time. Hold the mounting plate up against the wall, with the locations for the screws resting over the holes that were drilled. With the mounting plate in place, use screws to secure the mounting plate to the wall. Make sure the camera is not dangling freely while you complete this step.
4. Attach the camera. Most Alarm.com Cameras will allow you to simply screw the camera onto the mounting plate. We recommend loosely attaching the camera at first and then adjusting its positioning. Once the desired positioning has been attained, you can fully tighten the camera to ensure that it remains securely in place.
Did you find this answer useful?
We offer alarm monitoring as low as $10 / month
Click Here to Learn MoreRelated Products


- Answered