How Do You Set The Date And Time On A 2Gig GoControl?
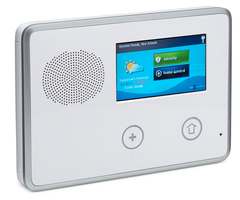
The 2Gig GoControl alarm panel has a built in clock and calendar. The date and time is displayed on the home screen of the panel.
To set the date and time on the 2Gig control panel, press the security icon on the home screen. From the security screen, press menu. From the menu screen press toolbox. On the toolbox (1 of 3) screen, press the right arrow to toggle to toolbox (2 of 3).
Press Set Date. Use the up and down arrows to change the month, date and year. When completed press the OK button.
Press Set Time. Use the up and down arrows to change the hour, minutes and am or pm. Press OK to save.
A confirmation screen will be displayed showing the date and time. If correct, press OK.
The control panel can also be programmed to automatically adjust for daylight savings. The system default is set post 2007 daylight saving changeover dates. The dates can be modified.
Advance to Q66, select daylight saving 0-1. Default 1 enables daylight savings adjustment. Select 0 to turn off automatic daylight savings adjust. The starting month and day and ending month and day can be adjusted by advancing to Q67, Q68, Q69 and Q70. Please refer to the 2Gig GoControl install guide for complete instructions.
If a gsm cellular communicator is installed and actively being monitored, the date and time are automatically set through the cell unit by the central monitoring station. This includes daylight savings.
The date and time are also used for the alarm system's history and event logs that store data on system events.
Did you find this answer useful?
We offer alarm monitoring as low as $10 / month
Click Here to Learn MoreRelated Products
Related Categories
- Answered
- Answered By
- Connie Michael