Honeywell Home PROA7PLUS: Clear a Tamper Error
Related Products


Related Categories
- Wireless Touchscreen Alarm Panels
- Small Business Security Systems
- Monitored Home Security Systems
- DIY Wireless Security Systems
- Apartment Security Systems
Description
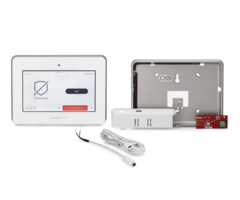
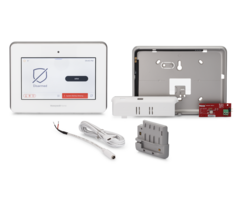
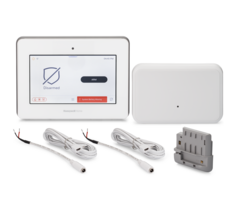
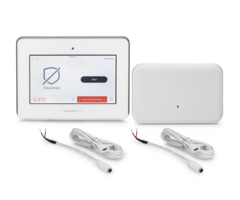
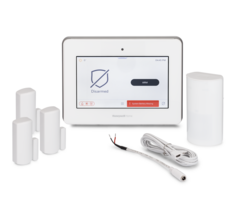
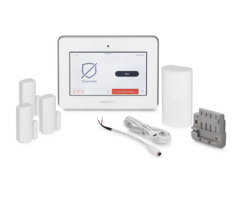
In this video, Michael from Alarm Grid shows you how to clear a tamper error trouble condition from a Honeywell Home PROA7PLUS Security System. This same process also applies to the other ProSeries Alarm Panels like the PROA7PLUSC, the PROA7, and the PROA7C. A tamper error occurs on these systems when the red tamper switch on the backside is not held down properly. This is usually because the panel has been taken off its backplate. This will also usually result in an AC loss condition because the panel will not be receiving power from blue terminal block on the backplate. Also, if the system doesn't have battery power to fall back on, it will power down. Once a tamper condition or other trouble occurs on a ProSeries Panel, a red box with the type of trouble will show up in the bottom-right of the main system screen, and the panel will begin beeping rapidly. You can stop the button by clicking the red button.
The only way to clear a tamper condition is to have the tamper button held down by applying the panel to its backplate, and then acknowledging the tamper condition by clicking the alert on the main screen and providing the system's Master Code. The reason why the system makes you acknowledge the tamper condition before it clears and goes away is because the system wants you to know that someone tried to open up the system earlier. A big reason why a person would go and open the panel is because they were trying to disable the security system. While an AC loss condition will clear once power is restored, a tamper condition is more of a security violation, so the system wants to make sure you know about it. Note that you will not be able to clear the tamper trouble until you have fixed the cause of the problem and put the panel back on its backplate so that the tamper switch is held down as intended.
https://www.alarmgrid.com/faq/how-do-i-clear-a-tamper-error-on-my-honeywell-home-proa7plus
http://alrm.gd/get-monitored
Transcript
Hi, DIYers. This is Michael from Alarm Grid. And today, I'm going to be showing you how to clear a tamper error on your Honeywell Home PROA7PLUS security system. The same information also applies to the PROA7PLUSC, from Resideo, the Resideo PROA7PLUSC, and also the Honeywell Home PROA7, and the Resideo PROA7C. They all follow the same process, more or less same process. But anyway, tamper error, it means someone has opened up the system or attempted to open up the system. Really what it means it's just the tamper switch inside the system, which I'm going to show you in a second, it's not being held down properly, because it's not on the backplate properly. And the system wants you to know about that. So, I'm going to show you how the tamper error occurs and how to fix it, what it looks like, and how to get the system on the back plate properly like it is right now. So, the first thing we're actually going to do, we have a set screw at the bottom of our Honeywell Home PROA7PLUS. And that keeps it on the backplate. It keeps it from being removed. So, we're going to remove that set screw, first of all, because otherwise we're going to have a hard time getting it off the back plate and a hard time causing a tamper error. So let's sneak our way in here and try to get that off. You see our tuxedo is in the way a little bit, but I think we can get in there. And it looks like we're unscrewing it slowly, but surely. I'm trying to do this without pressing the tuxedo at all. But there we go, just got to unscrew that a bit. And there we go. We got our set screw out. That's what the set screw looks like. Make sure you don't lose that. So I'm going to keep tabs on it right there. But now that we have our set screw removed, we can go and cause a tamper error. So, let's go ahead and do that. Let's just take our system and get it off the back plate here. OK, look, you can silence it by pressing the red button at the bottom, the clear tamper error. Let's show that off of it. Well, it went away now that I've caused this tamper. Can I pull down the tamper, and then perhaps cause it again? No. But anyway, let's show you how you would go about clearing it. There would be a red button here, but I quickly pressed it in panic to get it to silence. But, well, what we can do? We can press this notification button, which has some notifications there. See, we have two on there. And we press that. And you see we get the option to clear it and system AC loss, because also this is how the system gets AC power. When you take it off that backplate, this connection is obviously undone right now from the panel. And so we have AC loss as well. So, extra serious problems today at Alarm Grid. So to get it to clear properly, we could press Clear right now. And we can acknowledge with our master code, which ours is at the default, 1, 2, 3, 4, and of course-- Disarmed. Ready to arm. --of course, you would normally change that code for security purposes, but we have ours for testing purposes. But you see that actually doesn't clear the problem, because we still have AC loss. And we still have the tamper condition, because the red button right here, it's not being held down. And that's the switch, by the way. And I promised I would show you it, and there it is. So you want to have that held down properly. And when it's on the back plate properly, this handy little guy sticking out right there pushes it in. So we're going to get our system back on the backplate. And then we're going to clear that the tamper condition. So, let's go ahead and do that. So all we have to do, we just kind of put it on there. And we just kind of get it to click. And make sure it's good all around. And there we go. It looks good to me. So let's go ahead, and clear the tamper error. And you see, also, before I forget, we have a red LED. We have a red LED up in the upper right corner there, which indicates that there is a trouble condition, which is the tamper condition here. So let's go ahead and clear it. And you see we got our system back on AC it looks like, or at least one condition went away, control panel tamper. So that's the one we want to clear here. We're going to click the Clear button. And again, we have to provide our master code to get it to go away. So, 1, 2, 3, 4. Disarmed. Ready to arm. And you see, we have cleared our tamper condition. Now I'm going to do it again, because I actually really want you to see what it looks like when we first do it. This time I won't panic when I hear it beeping at me. So I'll show you it properly this time. But you see our LED is green to indicate that it is cleared. So that is how you clear it. But let's just go ahead and cause the same issue again by getting it off here. There you go. And you see we have our system AC loss right there. That's the control panel tamper. That's the thing you want to look out for. The big red box with the exclamation mark. That's how you know there's a problem. Let's get ours back on there. There we go. And, no, we're not having an emergency. So let's not do that, but we got the silence to stop-- or the beeping to stop. We are in silence. That's what we have now, silence. And now we're going to press the Control Panel Tamper. And we're going to do clear. And we're going to enter in our master code again. You saw that the AC loss control went away, because I did get it back on there. It will show you that again. See it just has tamper right now, because we haven't acknowledged it, but we have to acknowledge it. And we're going ahead and hit clear. 1, 2, 3, 4, our default master code. Disarmed, ready to arm. And there you go. We have no trouble conditions on the system. The LED is green, and all is right in the world. So, that is how you clear a tamper condition on your Honeywell Home PROA7PLUS or any other Honeywell Home or Residio Pro-Series system. So, if you have any questions about the PROA7PLUS, about tamper conditions, or your interest in an alarm monitoring services, send email to support@alarmgrid.com. If you find this video helpful, make sure to give it a thumbs up below to like the video. And remember to subscribe to our channel for updates on future videos. We hope you enjoyed the video. Thank you.
- Uploaded