How Do I Change Out The PROM Chip On My VISTA 20P?
To replace the PROM chip, power down the VISTA-20P completely. To avoid damage from static build-up, briefly touch the metal cabinet to discharge any possible static buildup. Remove the old chip and replace it with the new chip. Firmly press the new chip squarely into place. Power back up.
The most common reason to chip upgrade a VISTA-20P panel is to add support for Total Connect 2.0. Any VISTA-20P panel version 2.0 or higher can be upgraded in this manner. Older panels, with chips that show WA20P-1.x, must have the entire board replaced. These panels cannot be upgraded simply by replacing the PROM chip. Click here to learn how to verify your panel's firmware version.
To replace the PROM chip in a VISTA-20P, follow these steps:
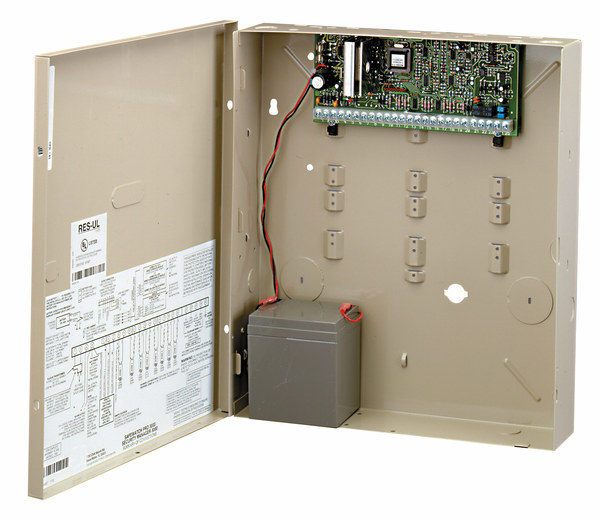
- Power down the panel: Find the transformer and unplug it from the wall. Remove the positive (red) wire connecting the VISTA-20P with its battery.
-
Remove the old chip: Using a paperclip or similar item, pry up the upper right corner of the existing chip. Once that corner is loose, pry up the lower left corner. This will allow you to remove the existing chip. Be careful not to damage the chip socket!
- Insert the new chip: Insert the new chip squarely into the socket. It should be inserted with the white label right-side-up so that it is easy to read when looking at the panel. Press down firmly in all four corners to seat the new chip.
- Power back up: Reconnect the transformer and battery. Verify that the panel is working by arming and disarming the system.
Did you find this answer useful?
We offer alarm monitoring as low as $10 / month
Click Here to Learn MoreRelated Videos

- Answered
- Answered By
- Julia Ross