How Do I Connect an LTEM-PA/LTEM-PV With Cell to WIFI?
To connect an LTEM-PA or LTEM-PV to WIFI, install the PROWIFI or the PROWIFIZW. Then log into the Total Connect 2.0 app and go to settings. Select Change Device WIFI Network. Next, select NO to turn Bluetooth on via cellular. Select the device, pair Bluetooth, and enter the WIFI password.

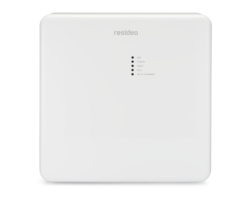
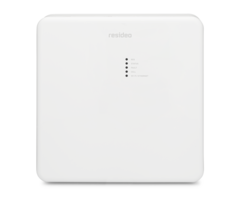
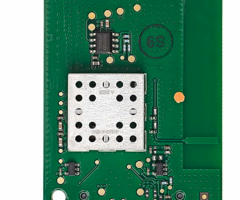
The LTEM-PA or LTEM-PV is a dual-path communicator. The A in LTEM-PA is for AT&T and the V in LTEM-PV is for Verizon. Usually, an internet connection is achieved by using an ethernet cable connected to the router. WIFI is optional and can be added with the purchase of one of the ProSeries WIFI Modules. These are the Honeywell Home PROWIFI (WIFI only) or the Honeywell Home PROWIFIZW (WIFI & Z-Wave Plus). Through the use of a ProSeries WIFI Communicator, you will be able to connect to a 2.4 GHz WIFI network. Using a WIFI module will remove the ability to use an ethernet cable. You can use Ethernet or WIFI, you cannot do both.

Resideo also released similar communicators in the LTEM-PIA and LTEM-PIV dual-path communicators. These were made to satisfy the UL-985 listing requirements for household fire devices. As a result, they do not support the PROWIFI or PROWIFIZW modules. They can only use the internet via an Ethernet cable. Do not get those communicators confused with the LTEM-PA and LTEM-PV. This article only pertains to the latter communicators.
The internet and cellular communicators for the LTEM-PA or LTEM-PV are AlarmNet communicators and cannot be used to send alarm signals to any other server or service. For these communicators to work, you will need a monitoring plan. This can be full central station monitoring or self monitoring. With an active plan, your alarm dealer sets up your communicator on AlarmNet 360. To be able to set up a WIFI module, you will need to have an active Total Connect 2.0 (TC2) account to make the connection.
After installing the WIFI module, follow the instructions below to connect the LTEM-PA or LTEM-PV to WIFI. This method uses the cellular communication path to enable Bluetooth in the communicator. Be sure Bluetooth is turned on for your iOS or Android device. If your LTEM-P series communicator does not have an active cellular connection, see our guide on connecting to WIFI without a cellular module installed. This method works for first-time connections and for updating the communicator's WIFI configuration in the event that your network settings have changed.
1. Log in to the TC2 App. Total Connect 2.0 is required for this setup. Your dealer will configure your account and provide you with TC2 login credentials. If you do not have the TC2 app installed yet, learn how to set up TC2 on your phone. Assuming you are past that point, open and log in to your TC2 account using your iOS or Android device.
2. Go to Settings. On iOS devices, select more > settings.


On Android devices, select the 3-lined hamburger menu icon at the top left of the screen > settings.


3. Change The Device WIFI Network. Once you have successfully entered settings, the screens for an iOS or Android device are the same. In settings, you will find the option to Change Device Wi-Fi network. Next, you will be asked if you can access the security device. This refers to physically accessing the LTEM-PA or LTEM-PV to manually turn on Bluetooth. Since we have an active cellular connection, we can select 'NO'. This tells Total Connect 2.0 to turn on Bluetooth via the Cellular connection.


4. Pair via Bluetooth. After Bluetooth is turned on, your smart device will search for the LTEM-P series device via Bluetooth. After locating the communicator, it will show up on the list of available connections. It will appear as LTEM-P (A or V) followed by the mac address of the communicator. Your smart device may or may not ask for confirmation to pair via Bluetooth. If it does, just select 'Pair'.
5. Select your WIFI Network and Enter Password. Once pairing is complete, the smart device will populate the WIFI networks that are within range. Select your network, then hit 'Next.' Then enter your case-sensitive WIFI password. Please be sure to type this correctly, as some passwords are very complex. If entered properly, then you will get a successful WIFI setup message.
6. Select Done and Exit App. On the successful WIFI setup message, click 'Done' at the bottom. This will take you back to the TC2 app's settings screen. You can then close the app.
Important note: When turning on Bluetooth, it stays on for 10 minutes. After 10 minutes, it automatically times out. At that point you will see the proper connectivity LEDs on the communicator. Until this 10-minute timeout, the LEDs may improperly indicate that the internet is not connected.
Did you find this answer useful?
We offer alarm monitoring as low as $10 / month
Click Here to Learn MoreRelated Products

Related Videos

- Answered
- Answered By
- Freddie Daniels