How Do I Create a Scene In Total Connect 2.0 Via a Phone?
Create a scene in the Total Connect 2.0 iOS or Android App by logging in and going to the scenes tab. Click on the add scene icon at the top right. First, name the scene, then select the scene trigger. Next, you must choose the devices and what actions they will perform, and then save.
![]()
Total Connect 2.0 (TC2) is a remote interactive service offered by Resideo, aka Honeywell Home, formerly known as, Honeywell. This can be a little confusing, but it is all still the same company. TC2 allows users to remotely control their compatible alarm systems. With a monitoring plan that includes automation, users also get control over smart home automation devices. For Alarm Grid customers, this is a Silver Plan (Self or Full) or higher. In order to use automation scenes, you must have a Z-Wave controller. There are several third-party WIFI integrations, but they do not support scenes.
A scene is a set of actions that are executed automatically on specified z-wave devices. The automation is based on triggers like a sensor fault or a disarm command. Scenes execute commands to your Z-wave devices based on common occurrences. Besides looking cool to your guests, it eliminates having to manually control the same device over and over.
Scenes can be set up from the iOS App, the Android App, or on the TC2 website. For creating scenes on the website see that article. To learn how to create scenes on either of the mobile apps, follow the steps below.
1. Log in to the TC2 Application. Open the app and log into your account. You will need your username and password. Remember that if you are an Alarm Grid customer then your username is set to the email address that you have on file with us unless you later changed it. If you are having trouble, click the "Problems Signing In" button, or reach out to your monitoring provider for further assistance.
2. Click on Scenes. For iOS users, your icons are aligned on the bottom of the screen. You may see scenes at the bottom or you may have to select "More" to see it. Select "Scenes".
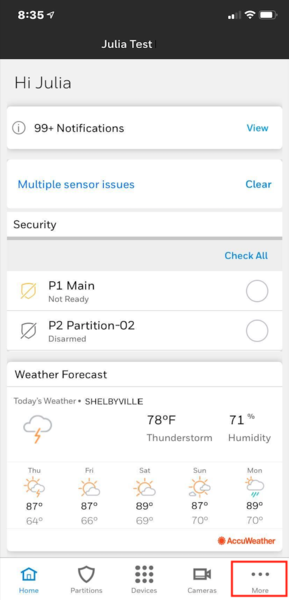

For Android users, you have two (2) options. Either click on the 3-lined hamburger menu at the top left, then you will see "Scenes". Or you can swipe left or right at the top until you see scenes. Then select "Scenes".


3. Select the Plus Icon. On the scenes screen, it will list all the current scenes. For iOS, add a new scene by clicking the + icon at the top right or you can hit "Create Scene" at the bottom.

For Android users, select the button "Create Scene".
 4. Name the Scene. The first part of scene creation is to select an appropriate name. It is suggested that you choose a name so that you'll remember what this scene is doing when you visit it later. There is a 15-character limit, including spaces, for the name. Then hit 'Next'.
5. Choose your trigger. Next, you must decide what event will cause this scene to run. This can be time-based and run at a set time of day, sunrise, or sunset. Individual days can also be selected. Alternatively, your trigger could be based on another device. These options are based on your specific panel but can include arming changes to your panel, activation of individual sensors, or Z-Wave devices. You can also choose to have the scene triggered manually. This will require you to start the scene, each time, on your own. Make your selection and hit 'Next'. Then make the secondary selection, based on what trigger you selected. As shown below you have options after selecting time based and triggered by another device. After selecting those the details, then hit 'Next' again.


6. Select your device to automate and its action. The action is what the device being automated will do. Options will depend on what is set up in the panel and/or Total Connect 2.0 but can include things such as turning on or off lights, opening Z-Wave garage doors, adjusting Z-Wave thermostats, locking/unlocking Z-Wave locks, or changing the arming state of your alarm panel. Select the device or devices then hit "Next' and select the action for each selected device. Then hit 'Next' again.


7. Save, Test, and Exit. First you will see the details of the scene you just set up. Please review it for accuracy. Then you must select "Save Scene" and you will get a popup that informs you the scene saved successfully. Click "OK" on the popup. Next, you want to click on the run scene icon (
Did you find this answer useful?
We offer alarm monitoring as low as $10 / month
Click Here to Learn MoreRelated Products


Related Videos

Related Categories
- Home Automation
- Home Automation
- Home Automation Controllers
- DIY Wireless Security Systems
- Lights
- Lights
- Home Automation Modules
- Home Automation Modules
- DIY Wired Security Systems
- Dimmers
- In-Wall Dimmers
- Dimmers
- Garage Door Controllers
- Electrical Receptacles
- Fans
- Fans
- Answered
- Answered By
- Freddie Daniels