How can I Save Video Clips from Total Connect 2.0?
In the past Honeywell’s Total Connect 2.0, when used with the video surveillance feature utilizing their IPCAMs, had a 500MB storage limit. This meant you had access to 500MB worth of 10 second clips, straight from the Events and Notifications section of the app or website. Now, Honeywell is in the process of changing this retention policy. All users who currently have Total Connect 2.0 Video will automatically be put on a 7 Day retention plan, meaning regardless of data size, all video events will expire after 7 days on the TC2 server. This change is set to occur on or about April 19th, 2017. They will offer a 30 day video retention plan, but it will come at a higher price, which has not yet been determined. In order to save Video Events beyond the 7 day limit, without having to upgrade to the 30 day plan, you have 2 options. You can manually save video events, one at a time, and/or you can set up a notification to send video events to you via email as an attachment so that you can save and archive the clips in your email without any worry of clips getting lost once TC2 deletes them after 7 days. See below for instructions on how to do each.
Manually Saving Individual Events:
To manually save a video event, do the following:
Log into Total Connect 2.0 from a web browser. This option is not available through the phone app.
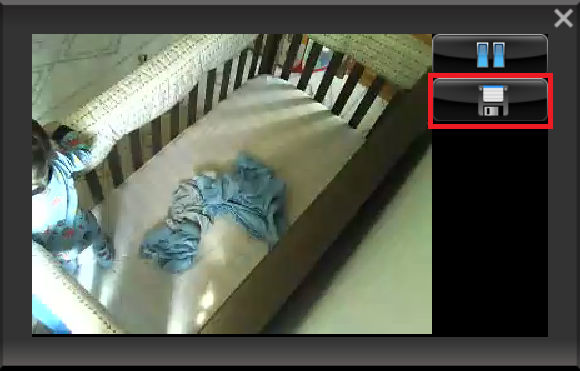
In Events and Notifications, locate the video event you wish to save and click it.
Click on the Save Icon
When you choose the Save icon, what you see, will depend on the browser being used.
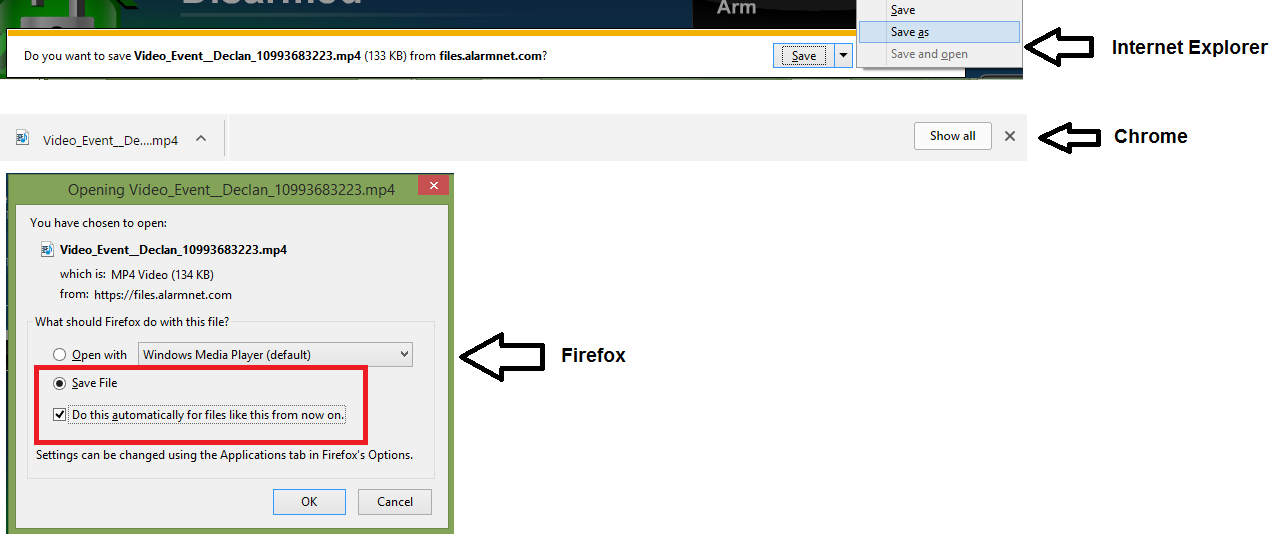
Save this file as you would any other file you download through a browser. In Internet Explorer, you can choose “Save As” and name the file anything you want, and choose where to save it. In both Chrome and Firefox, the file will automatically go to Downloads, where you can then rename and move it wherever you like.
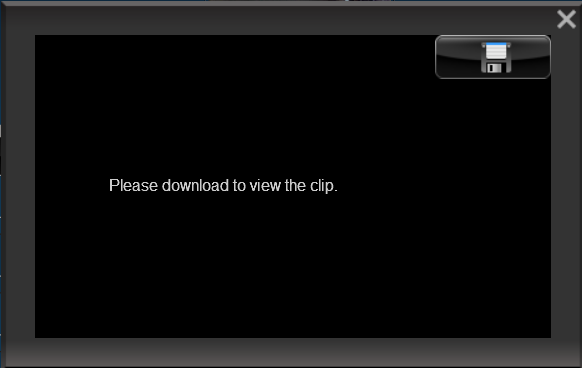
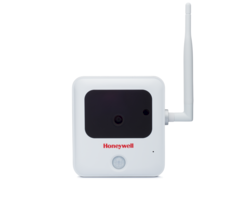
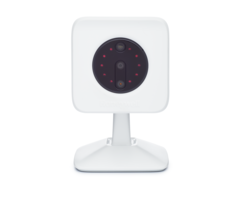
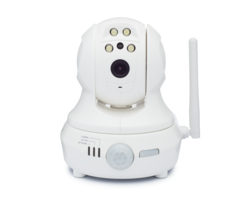
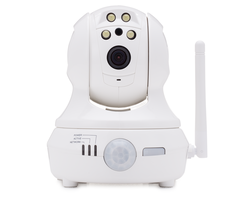
If you attempt to view a video clip from a camera that no longer supports streaming through the TC2 web page, you’ll see this. Follow the above directions to save the video clip, then view it with any program that will play .mp4 files. Cameras that no longer support streaming through the web site are the IPCAM-PT, IPCAM-WO, IPCAM-WI, IPCAM-WI2, and the ACU.
Enabling Video Notifications through Total Connect 2.0
To have Total Connect 2.0 automatically send you Email notifications with the attached clip of Video Events as they occur, do the following:
Again, log into Total Connect 2.0 through a web browser.
In Events and Notifications, click the Setup Icon

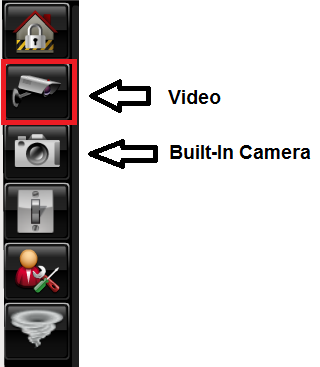
Then click on the Video Icon (Not to be confused with the Camera Icon on Lyric Panels)
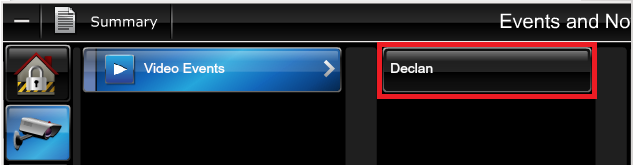
Next Click on Video Events. Each individual camera will be listed by name, click to highlight the camera for which you wish to enable notifications.
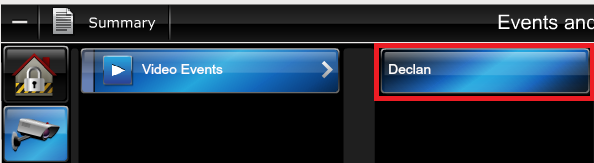
With the camera highlighted, you’ll see an option to the right to Add a Notification.

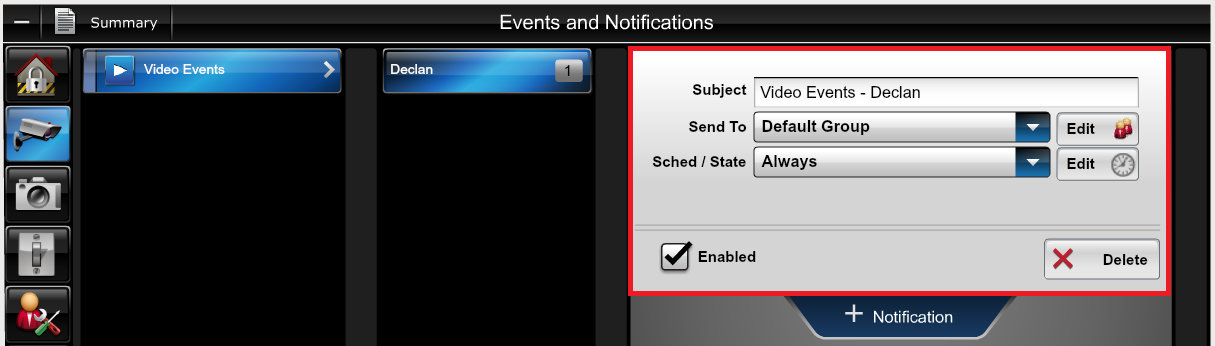
Shown below is a basic notification event. You can see the Subject, which can be edited, the Total Connect 2.0 User Group this event is enabled for, and the schedule, in this case, Always. The Default Group is created when the Total Connect 2.0 account is created, and all notifications that are initially programmed are set to go to that group. If you have different groups of people, and you want each group to receive different notifications, you can create separate user groups in Total Connect 2.0 for each, then control which notifications each group will receive. You can also set a schedule, so that you receive Video Notifications, only if they occur during a specific time window, and/or on certain days of the week.
Once video notifications have been enabled, any user assigned to the group selected, who has validated email or SMS information, enabled to receive attachments, will begin to receive video clips from the selected camera(s) as they occur.
To ensure attachments are enabled. Go to the User in question, and click on the Edit button below their picture.

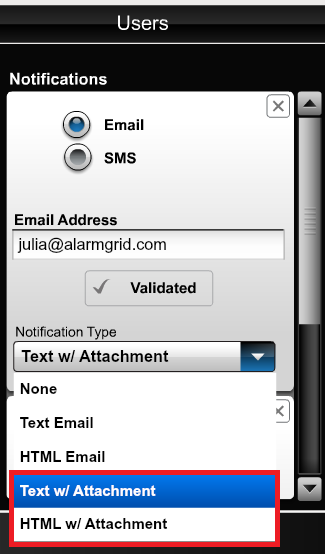
In the Edit screen, in the column titled “Notifications” be sure there is a valid email address listed for the user who is to receive the notification,and that the email has been validated. Also, be sure to choose either “Text w/ Attachment” or “HTML w/ Attachment”. The video clip will only come through as an attachment and only via email, never as a Text or a Push Notification.
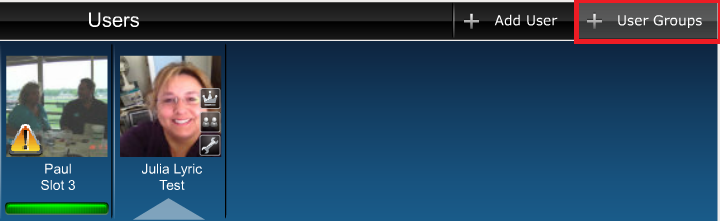
Finally, verify that each user is assigned to the appropriate group, or groups to receive their notifications. In the User section, click on “User Groups" in the upper right
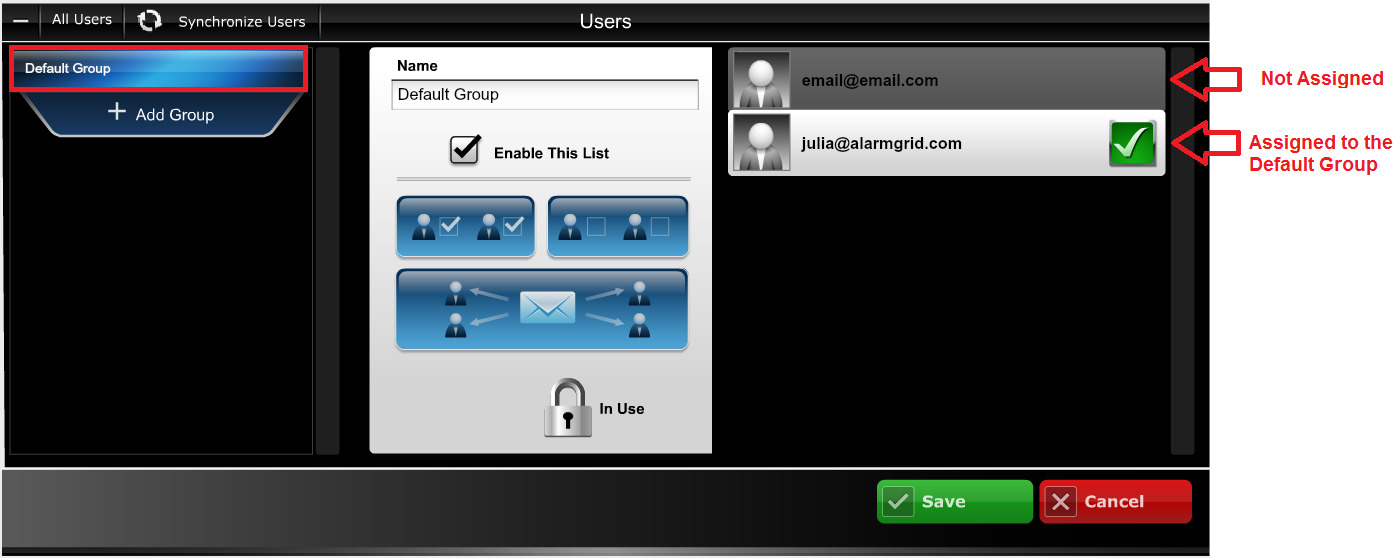
Click on the group name, in our case, the “Default Group”. You’ll see all users listed to the right, and you’ll be able to tell which users have been included in the group, and any that have not.
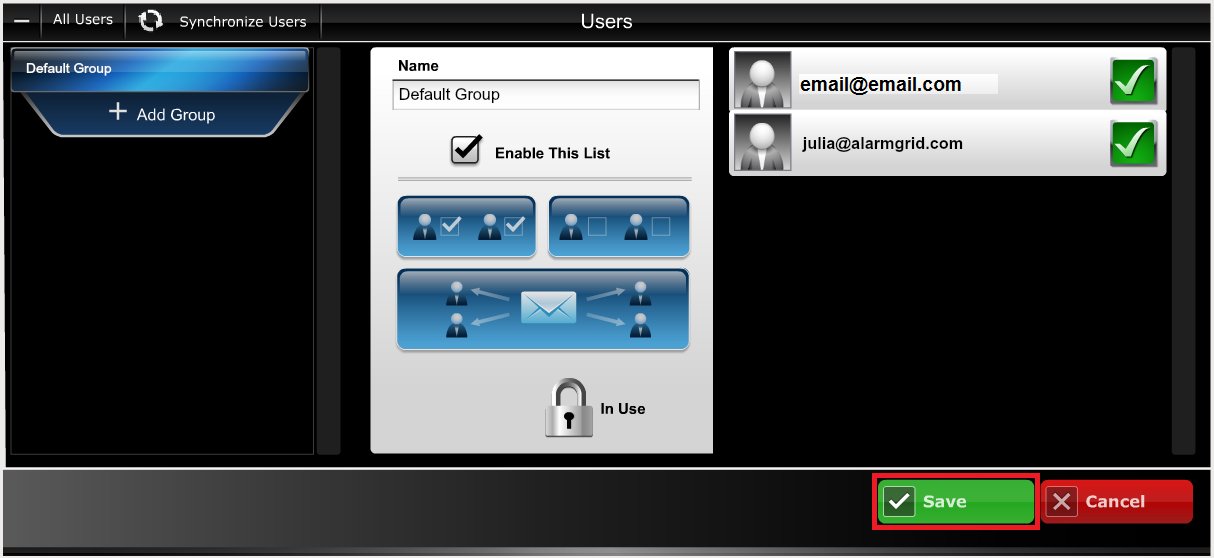
To enable a user in the group, simply click on their username, you’ll see a green box with a check mark appear next to the username, then be sure to click the green “Save” button to exit.
Did you find this answer useful?
We offer alarm monitoring as low as $10 / month
Click Here to Learn MoreRelated Products
Related Categories
- Answered
- Answered By
- Julia Ross