How Do I Setup the Honeywell VAM for WIFI?
Follow the steps provided in the Quick Install Guide to attach the VAM to the Vista panel of your choice. The VAM connects to the panel in the same manner, and to the same terminals, as any keypad.
If you’re unsure whether the VAM has ever been configured for a network before, it may be a good idea to default it’s Network Settings as well. Hold down the “WI-FI & Factory Default Button” for longer than 5 seconds, you’ll see the device reset, the green Power Indicator will come back on solid, and the Blue Network Status LED will also come on Solid. This lets you know the VAM is ready to proceed in AP (Access Point) mode:
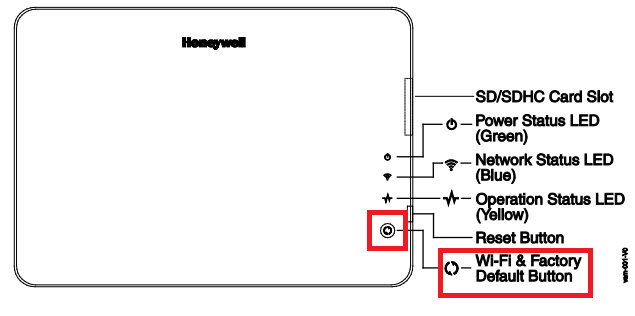
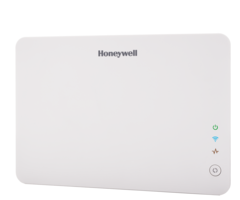
Before you begin, it’s a good idea to take a picture of the sticker on the back of the VAM, which shows the MAC/CRC, SSID, and Password. Also, keep in mind that the VAM will only support 2.4 GHz WIFI connections. 5GHz WIFI is not supported.
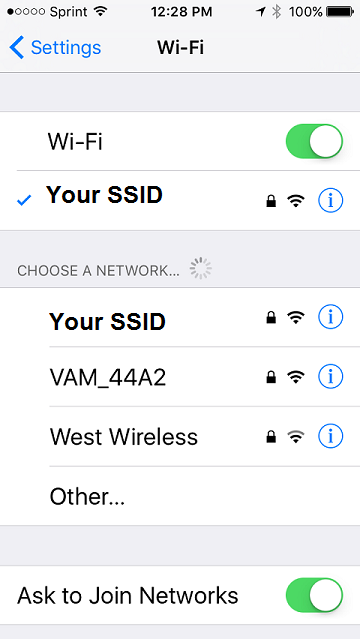
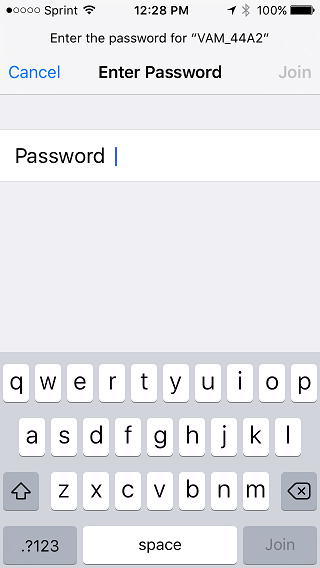
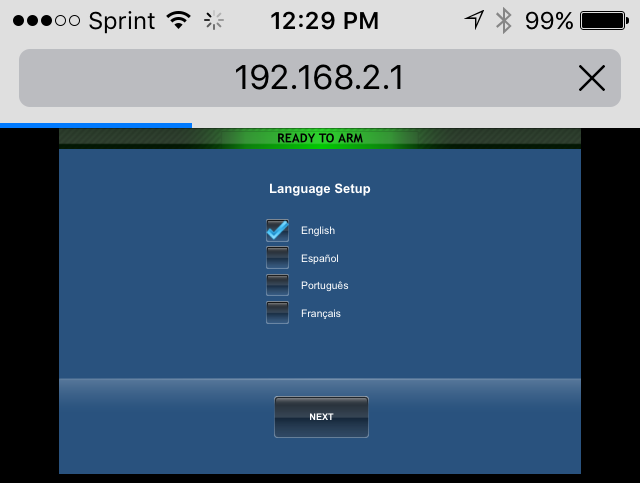
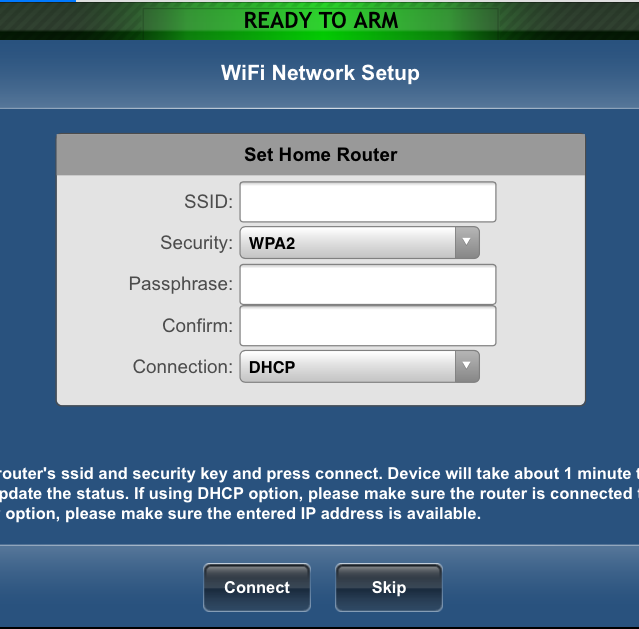
With the VAM powered up, on your smart device (phone or tablet) go to Settings (you can also do this from a computer enabled for WIFI, but my screenshots below specifically show this on a smartphone). Disable Cellular Data, if applicable, then go to WIFI Settings. The SSID for the VAM (VAM_xxxx, where xxxx is the last 4 of the MAC) will be displayed. Select it. Enter the password shown on the back of the VAM, then hit Join. You’ll see that the WIFI network now shown for your smart device is the VAM. Next open a web browser, in the URL bar, type in the Default IP address for the VAM (192.168.2.1). You’ll see the initial setup page for the VAM, choose your language option, then Click “Next”. Enter your network information (SSID, Passphrase or Password) Confirm, then hit “Connect”. Screenshots below:
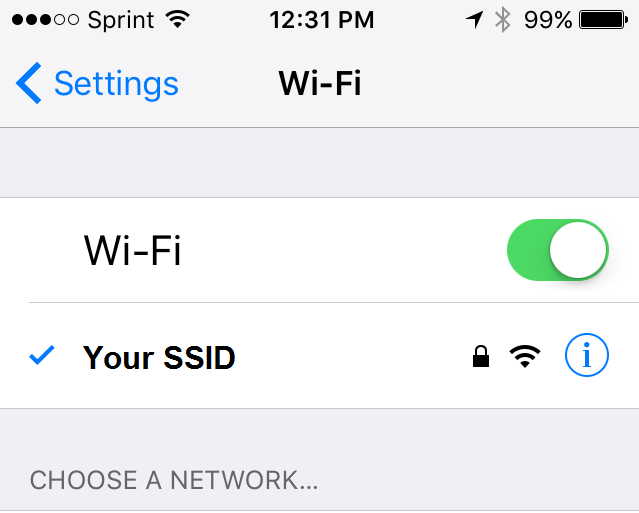
Original Network Settings on Your Device. Select the VAM from Available Networks:
Enter the VAM Password, located on the back of the VAM:
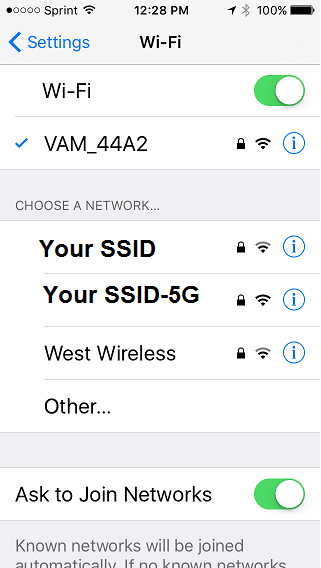
Your Device is now connected to the VAM's Wireless Access Point:
Open a browser window and type in the default IP of the VAM:

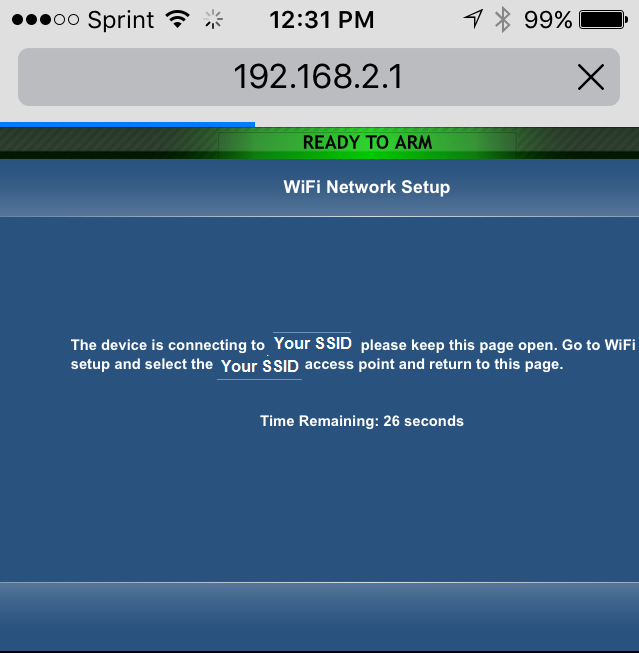
Follow the rest of the instructions to connect the VAM to your WIFI network:
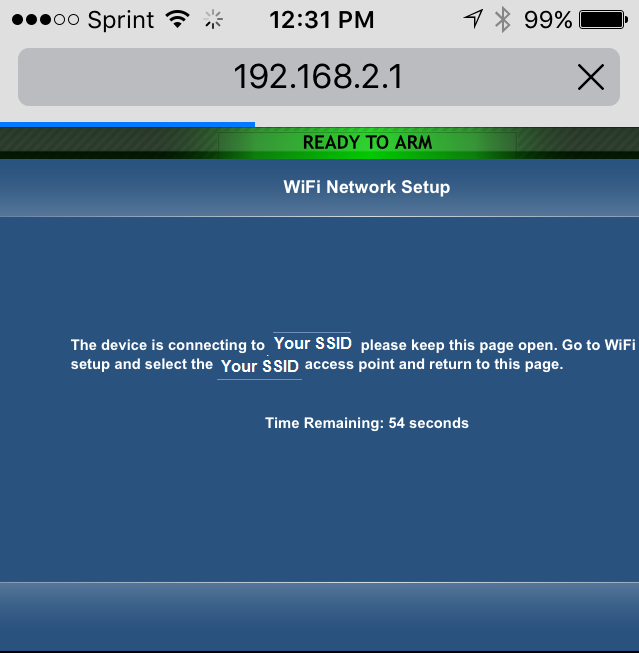
You’ll see a screen which tells you “The device is connecting to “SSID”. This screen is referring to the VAM, not to your smart device. It tells you to go back to WIFI settings, and select your original SSID again, but when you go there, you’ll see that this happens automatically.
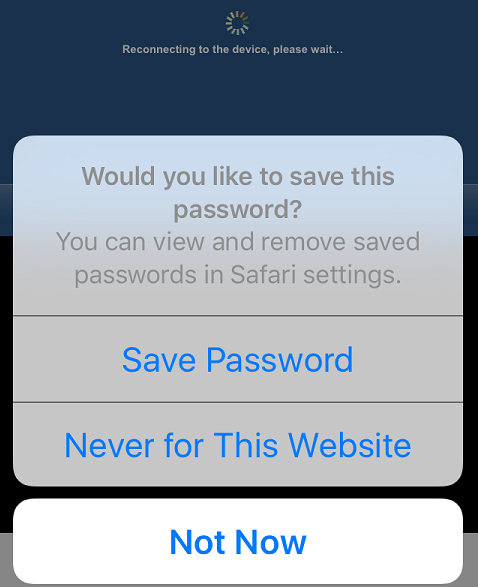
Go back to your Browser page, you’ll still see this screen, when the countdown concludes, you’ll see the next screen, and be prompted as to whether or not you want to save the password. Choose “Not Now”:
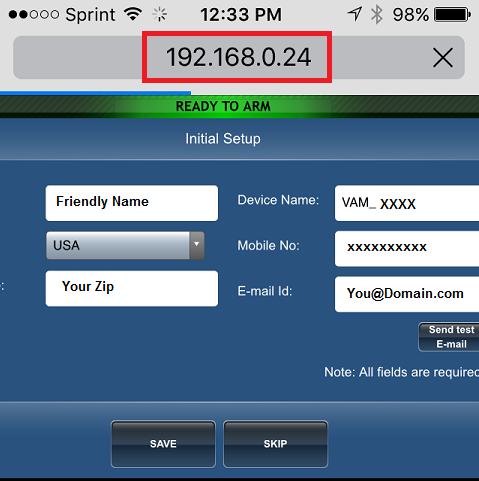
Next you’ll be reconnected to the VAM, but this time, via your WIFI network. You’ll be asked to fill in some information, then hit save. Notice the new IP address:
Once you save, you’ll be logged into the VAM over WIFI. You can pull up this screen for the VAM any time you're mobile device or computer is connected to the same WIFI network that the VAM is on:

Did you find this answer useful?
We offer alarm monitoring as low as $10 / month
Click Here to Learn MoreRelated Products


Related Categories
- Answered
- Answered By
- Julia Ross