Why Can't I Pair a PROWLTOUCH to a PROA7 or PROA7PLUS?
The PROA7 and PROA7PLUS use a protocol called "Bonjour" or mDNS to find "companions" on the network (LAN). Not all routers handle this protocol well, particularly on mesh networks. If the panel and keypad can't find each other, manual entry of the panel's IP into the keypad is required.
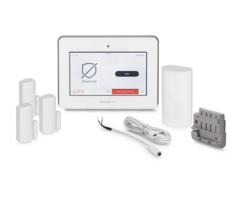
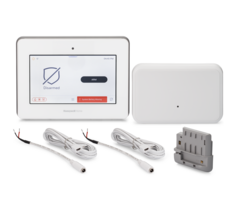
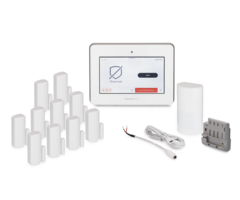
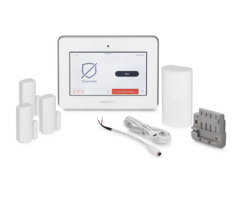
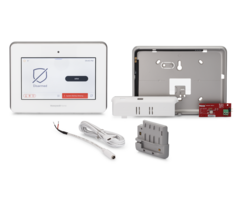
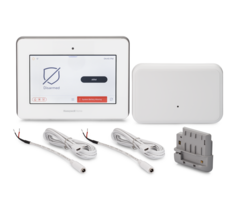
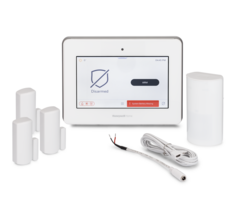
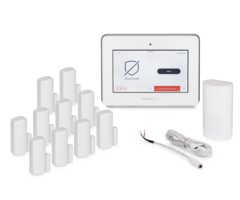
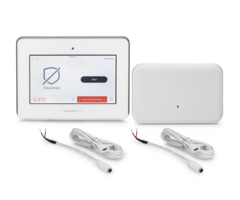
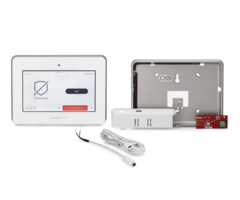
There are currently four (4) ProSeries panels, the Honeywell Home PROA7, the Honeywell Home PROA7PLUS, the Resideo PROA7C, and the Resideo PROA7PLUSC. The only difference between the Honeywell Home branded variation and the Resideo branded variation is the name that's stamped on the front of the panel, they program and behave in exactly the same way. By the same token, there are two (2) versions of the PROWLTOUCH touchscreen keypad. There is the Honeywell Home PROWLTOUCH and the Resideo PROWLTOUCHC. Once again, these two products are exactly alike with the exception of the name that is shown on the front. If you're interested in why this is the case, you can read all about that here.
In most cases, the pairing of a PROWLTOUCH keypad with a PROA7 or PROA7PLUS panel is very simple. First, you set up the panel and connect it to a WIFI network*. If you have any issues doing that, you can check out this FAQ and Video. Then you power up the PROWLTOUCH, connect it to the exact same WIFI network as the panel, and it immediately, and automatically goes out onto the network using the "Bonjour" protocol and looks for companion devices. Each of the ProSeries devices has a "Bonjour Name" and when two companion devices find one another on the network, they figure out what each device is, and the touchscreen keypad is provided with the alarm panel's IP address. The keypad then prompts the user to "Pair to Panel" and the process completes. You can check out a video of the normal process here.
*NOTE: The Honeywell Home PROA7 and the Resideo PROA7C do not have WIFI capability from the factory. In order to use either panel with a PROWLTOUCH or PROWLTOUCHC, you will first need to add either a Honeywell Home PROWIFI (WIFI only), or a Honeywell Home PROWIFIZW (WIFI and Z-Wave Plus). Both of the PLUS versions of these panels come with the PROWIFIZW already installed.
In some cases, often in cases where a mesh network is in use, the above described process fails. When that happens, the PROWLTOUCH returns an error and asks you if you would like to manually enter the panel's IP address. In many cases, manual configuration of the panel's IP in the PROWLTOUCH keypad is the easiest way to resolve this issue. There are a few things you need to verify on your network to be sure it is compatible with the panel and the keypad:
- The network must support 2.4 GHz WIFI and it must have DHCP enabled
- If the installation site has multiple access points and/or repeaters, and the keypad is connected to the network through a different access point than the panel, it may not be able to find the panel. Try forcing the keypad to connect to the network using the same access point that the panel is using.
- Modern networking equipment usually supports multiple bands, namely 2.4 GHz and 5 GHz. If both bands are using the same SSID, this can cause issues. Try setting these separate bands with unique SSIDs within your router. This will assist the panel and keypad in being able to connect to, and stay connected to, the proper network.
- Sadly, each time a network equipment manufacturer develops a product or service to make the network more secure, it also makes the network more difficult to connect with. If you have equipment with advanced firewall and/or cyber security features, you may need to work with your ISP or equipment manufacturer in order to achieve and maintain a connection.
The steps below assume that you have a panel, that it has WIFI capability, and that it is connected to a WIFI network, although we will quickly go through how to connect to the network, just in case.. It also assumes that you have a PROWLTOUCH or PROWLTOUCHC keypad and that it is connected to the same WIFI network (it must be on the same SSID and subnet) and that it has failed to find the panel on the network automatically. To resolve this issue, follow these steps:
-
Find the Panel IP. At the ProSeries panel, click the Menu icon (three horizontal bars in the bottom center of the screen) then go to Settings > WIFI > >Enter Installer or Master Code (defaults are 4112 and 1234 respectively) > WIFI Networks. The SSID for the network should appear under "Connected Network" at the top of the screen. Click on the SSID and then click to view the Network Details. Note the NIC IP, Subnet Mask, and Gateway IP Address. If there is no IP address information, or an invalid IP address is listed, such as a 169.x.x.x address scheme, you need to verify the settings in your router. See the bulleted notes above.
If the panel is not connected to a network currently, then take this opportunity to connect to the proper network. If you don't see the proper network SSID displayed, click the refresh button at the upper right of the screen, then check the available networks again. If you still don't see the proper SSID, the router may be set not to broadcast it. If this is the case, you will either need to change this setting in the router, or choose the option of "Add Network Manually" from the panel's WIFI setup screen. Adding the network manually just means that you will have to type in both the SSID and Password, rather than having the SSID populate automatically. Be sure you get spelling, punctuation, and letter case entered correctly. Once the panel is added to the network, then go back to Network Details and note the items mentioned above. - Verify WIFI strength. From the ProSeries panel's Security screen, press the Menu icon at the bottom center, then Tools > Enter Installer or Master Code > System Tests > Test Communicator > Test WIFI. If the Signal Strength returned is lower than -65dBm, then a change needs to be made to improve the panel's WIFI signal strength. This could be to add an access point or network repeater, relocate the ProSeries panel, or relocate the router.
-
Connect keypad to panel. Once the panel is properly connected to the network and WIFI signal strength is verified, it is then the keypad's turn. The process for verifying the keypad connection to the network is exactly the same as it is for the panel. Click the Menu icon, then Settings > WIFI > Enter Installer or Master Code > WIFI Networks. Verify that the SSID for the keypad is the same as the SSID for the panel. Check the network details. The NIC IP, Subnet Mask, and Gateway IP for the keypad should be almost identical to the information in the panel. This is how you can tell if the keypad is connected to the same network, but possibly on a different subnet.

Above is a very simple example of IP information on two (2) devices that are on the same subnet, as compared to two devices that are on different subnets. If the devices in the example on the right were a ProSeries panel and a PROWLTOUCH keypad respectively, even if they were connected to the same SSID, they would not be able to communicate properly with one another, even if you manually entered the IP for the panel in the keypad. This is because they are on different subnets.
If the keypad doesn't automatically find the panel on the network, press the button to "Input IP Manually" then enter the panel's IP address that you retrieved in Step 1 above. Enter it exactly as it was shown on the panel, then press Save. You should see a message that says "Connected to Control". Press OK. The keypad should then show you "Optimization Complete" then display the current panel status.

Did you find this answer useful?
We offer alarm monitoring as low as $10 / month
Click Here to Learn MoreRelated Products


Related Categories
- Apartment Security Systems
- Wireless Touchscreen Alarm Panels
- Small Business Security Systems
- DIY Wireless Security Systems
- Smart Home Controllers
- Wireless Touchscreen Keypads
- Answered
- Answered By
- Julia Ross