ISC West, the security industry's largest trade show, was held this week in Las Vegas. This is the first year since the COVID-19 outbreak that the show is being held in person. We didn't attend the show this year, but based on what we've seen, JCI and Qolsys won the ISC West show in 2022.
Qolsys:
IQ Pro
Qolsys, Inc. which was acquired by Johnson Controls in 2020, premiered two brand new products, and reintroduced one more. The IQ Pro Panel is a hybrid wired and wireless system which targets large homes, and medium to large businesses. It combines the reliability of hardwired components with the range and versatility of the DSC PowerG Sensor lineup. The product is planned for release in Summer, 2022.
There is very little information available about the IQ Pro. The Press Release announcing the product, which was released by Johnson Controls, didn't even say for certain that it would be a Qolsys branded product, though with 'IQ' as a part of the name, we assume it will be. This panel will combine elements of the IQ Panel 4 with the DSC PowerSeries Neo, and a little bit of customer feedback thrown in. A couple of things we do know, the IQ Pro will offer the choice of either Ethernet or WIFI connectivity along with LTE. This panel has been designed with Alarm.com for Business in mind, to take advantage of all the extended features offered there.
IQ WIFI 6
The Qolsys IQ WIFI 6 was actually first introduced to us here at Alarm Grid last year. It is a product we thought was going to released then, but it was introduced at ISC West and should be available in Summer, along with the IQ Pro. The IQ WIFI 6 is is a router that uses 802.11 1/b/g/n/ac/ax WIFI-6 technology. It offers dual-end 2.4 GHz and 5 GHz MIMO mesh architecture on a Qualcomm Networking Pro 400 platform. It will integrate with Qolsys touchscreen panels, to allow a user to administer the network from there.
The IQ WIFI 6 will offer four (4) network partitions, including a Guest Network and a dedicated network for the end-user's WIFI devices. Both of these will switch automatically between 2.4 GHz and 5GHz for seamless optimization of WIFI performance. In addition to these partitions, there are two (2) private network partitions to be used by security and/or networking providers. By separating the security, surveillance, and smart home devices from the rest of the network, professional providers can cut down on disruptions caused by user error.
IQ Hub
The Qolsys IQ Hub has actually already been released, in a limited fashion within the last six (6) months or so. Presumably due to supply chain issues, Qolsys has tightly controlled how many of these panels are shipped, but now, based on a press release this week, it seems like they may be looking to perform a wider release. The IQ Hub differs from the IQ Panel 4 in several ways, one of which is that each panel will only support one RF product line. There is a PowerG version with either an AT&T or Verizon communicator. This is the only version that has been released at this time. Soon however, there will be a version that supports unencrypted, uni-directional Honeywell and 2GIG wireless sensors, one that supports unencrypted, uni-directional Interlogix and all Qolsys wireless sensors, and a version that supports uni-directional DSC 433 MHz wireless sensors.
Resideo:
Cellbounce

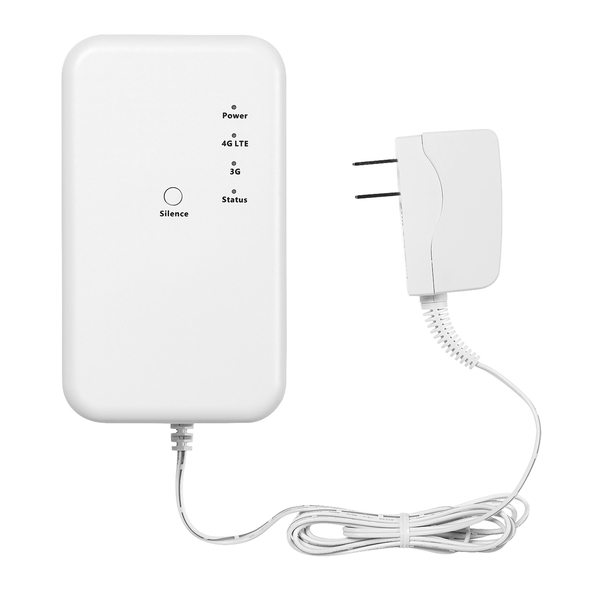
Resideo and Honeywell Home brought the Cellbounce to ISC West. This device will bridge communicators that work on the AT&T 3G network over to the AT&T LTE network, without having to replace the device. This is a plug-n-play device. It connects to an outlet within range, which is 25' (7.62m), of the existing AT&T 3G communicator, though be sure not to plug the Cellbounce in until it has been configured by your alarm dealer.
It syncs to the 3G communicator, then with the LTE network and any signals sent by the communicator will be picked up and transported via LTE. It even works with Total Connect 2.0, though it does not work with two-way voice. It also only works in the contiguous United States, so Alaska, Hawaii, and Puerto Rico residents, the Cellbounce is not for you. There are some other caveats and limitations, so be sure to read our product description carefully before purchasing.
2GIG, Nortek Control:
2GIG Edge

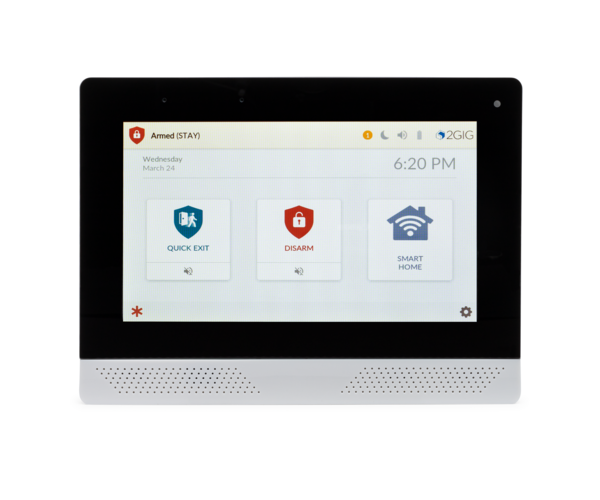
In October of 2021 Nortek Control, the parent company of 2GIG, was purchased by Nice. Nice originated in Italy, with Nice North America handling the US and Canadian segment of the business. This year at ISC West, Nice put their stamp on this relatively new acquisition. In addition to some commercial camera innovations by Linear, Nice/Nortek Control announced during ISC West that they will offer exclusive integration between the 2GIG Edge security panel and the ELAN Home Control platform. The Edge has been out for about a year now. You can read all about it here.
According to their press release, this integration will be supported by the ELAN SC-100 and ELAN SC-300 system controllers running ELAN 8.7 OS (which won't be available until April, 2022). The 2GIG Edge panel requires firmware version 3.1.1.0 or later. Firmware can be pushed through Alarm.com or downloaded. This panel firmware version is not available from 2GIG just yet, but once it is posted, our page will be updated. One of the more convenient features of this integration is the ELAN Control Auto Zone Detection feature. If the ELAN system is setup first, with zone names, once the 2GIG Edge is installed, it can download all zones and zone names directly from ELAN, without having to re-enter the information.


