Changes to Alarm Grid's Alarm.com Account Creation
Posted By Julia RossUp to now, Alarm Grid has never enabled Pro Video with Analytics on Alarm.com video accounts unless specifically requested by the customer. This feature comes with additional costs that we have always covered. Now that Video Motion Detection is no longer an option, we've changed our policy.
Although Alarm.com ended support for enabling Video Motion Detection on new accounts in February 2023, its effect on our video customers only became clear to us recently. One of our customers alerted us to an issue that highlighted the impact of this change, prompting us to institute this new policy.
Please note that this policy change does not affect the monthly monitoring price for Platinum (Self or Full) Monitoring or Standalone Video Monitoring. This adjustment is simply to ensure our customers receive the full monitoring experience they expect. Below, we'll discuss the differences between Video Motion Detection and Video Analytics.
Video Motion Detection (VMD)
Method of Detection: VMD detects motion by analyzing brightness and color changes in user-defined pixel areas within camera images, eliminating the need for a separate motion detector.
Configuration: VMD settings are configured using VMD windows, which are drawn by the user on a live video preview. Users can adjust the sensitivity (how much change is needed to trigger an event) and target size (the percentage of the VMD window that needs to be filled by movement) for each window.
Recording Rules: VMD recording rules can be created to trigger recordings when motion is detected in specified VMD windows. However, for some camera series, the option to choose specific VMD windows to trigger a recording is not available; any motion in any window will trigger a recording.
Best Practices: For effective detection, it's recommended to draw longer and narrower boxes, similar to tripwires, in areas where motion should trigger a recording. Avoid placing windows in areas with constant or insignificant motion like moving trees or reflective surfaces. VMD windows should not overlap, as this can lead to false activations. For outdoor cameras, creating lines or barriers with the available windows is suggested instead of one large box.
Limitations:
- VMD may not always function properly due to environmental factors like flying insects, falling leaves, or precipitation.
- Certain older camera models do not show the VMD window turning orange upon motion detection during configuration.
- The VMD windows for certain cameras are not visible to your alarm dealer (for troubleshooting purposes) in the Partner Portal, even after they've been configured.
- Sensitivity settings may affect all VMD windows for some camera models.
New accounts created after February 2023 will no longer have the option to create VMD recording rules, as Alarm.com is moving forward with Video Analytics as their primary motion-activated recording solution. However, accounts created before this date, and older cameras that only support VMD will continue to be able to use VMD, and support for it will continue.
Video Analytics
Method of Detection: Video Analytics continuously scans a property and identifies and classifies objects such as people, vehicles, or animals. It can understand traffic patterns and detect specific behaviors like loitering, or objects crossing virtual lines.
Configuration: Video Analytics rules are configured using virtual tripwires (to capture movement through an area) or ground zones (to capture objects lingering in an area). Users can define the area of interest and specify the duration an object needs to be in a ground zone to trigger a recording.
Recording Rules: Video Analytics rules offer more advanced options, including the ability to trigger recordings based on the type of object (person, vehicle, animal) detected. Existing VMD recording rules must be deleted before setting up a Video Analytics rule. Users can create up to three Video Analytics rules per camera, and ground zones and tripwires can overlap.
Best Practices:
- For accuracy, avoid drawing tripwires or ground zones over objects that move on their own (like trees or shrubs) and only draw the rule where the feet or wheels of the object should cross.
- It's recommended to observe the rule's detections and then adjust the Minimum Object Detection Size or recalibrate the camera if needed.
- Proper camera placement (height, angle, distance) is crucial for Video Analytics to function effectively.
Additional Features: Video Analytics enables enhanced notifications with thumbnail images of the detected objects. It can also be used to control lights based on detected events. Features like Perimeter Guard™ (alert sounds and flashing LED) and Package Alerts for specific doorbells rely on Video Analytics.
Additional Content on Video Analytics:
Summary of Key Differences:
Detection Method: VMD detects motion based on pixel changes within a specified area of the camera's field of view, while Video Analytics constantly scans the camera's view, identifying and classifying objects using cutting-edge technology and machine learning.
Precision: Video Analytics offers more precise detection and reduces false triggers by accurately identifying specific types of objects.
Rule Capabilities: Video Analytics allows for more sophisticated rules based on object type and behavior (e.g., loitering, crossing a line), unlike VMD which primarily reacts to general motion within a defined area.
Notifications: Video Analytics provides more comprehensive notifications with thumbnail images and object classification.
Summary:
In essence, Video Analytics is a more advanced and intelligent method of motion detection when compared to VMD. While VMD can be effective for basic motion detection on older systems, Video Analytics offers greater accuracy, more options, and better control over what triggers recordings and notifications.
Compatible Cameras:
Cameras That Support VMD Only:
If you are moving into a home or business with existing cameras and plan to activate new Alarm.com service after February 2023, please note that the following cameras support only Video Motion Detection (VMD), not Video Analytics. With these specific models and possibly other older cameras not shown here, you will only be able to view live video remotely; creating recording rules is not possible.
| Camera Name | Image |
|---|---|
| ADC-VS1 Analog to IP Converter 1-Channel |

|
| ADC-VS420 Analog to IP Converter 4-Channel |

|
| ADC-V510 Fixed Lens Indoor Camera |

|
| ADC-VS520IR Fixed Lens Indoor Camera w/IR |

|
| ADC-V610PT Indoor Pan/Tilt Camera |

|
| ADC-V620PT Indoor Pan-Tilt Camera |

|
| ADC-V700X Weatherproof Day/Night IP Camera |

|
| ADC-V720 Outdoor PoE Night Vision Bullet Camera |

|
| ADC-V820 Indoor PoE Dome Camera |

|
| ADC-V521IR Indoor Fixed IR Camera |

|
| ADC-V721W Wireless Outdoor IP Night Vision Camera |

|
|
ADC-V821 Outdoor PoE Night Vision Dome Camera |

|
| 2GIG HD100 Indoor 720P Camera w/ Night Vision |

|
Cameras That Support Video Analytics:
See the table below for cameras compatible with Alarm.com's advanced Video Analytics. Given its superior accuracy for detecting threats and gathering information about your property compared to Video Motion Detection, we strongly recommend upgrading if your cameras currently only support VMD. Start planning your upgrade today, you'll be glad you did!
| Camera Name | Image |
|---|---|
|
ADC-V515 Indoor 1080P Camera |

|
| ADC-V522IR Indoor 1080P Night Vision Camera |

|
| ADC-V523/ADC-V523X Indoor 1080P Camera with IR Night Vision |

|
| ADC-V622 Indoor 1080P Camera with IR Night Vision and 2-Way Audio |
|
| ADC-V722W Outdoor 1080P WIFI Camera with Night Vision |

|
| ADC-V723/ADC-V723X Outdoor 1080P Camera with IR Night Vision and High Dynamic Range (HDR) |

|
| ADC-V724/ADC-V724X Outdoor 1080P WIFI Camera with 2-Way Audio |

|
| ADC-VC726 Outdoor 1080P PoE-Capable Mini Bullet Camera with Night Vision |

|
|
ADC-VC727P Indoor/Outdoor 1080P PoE-Capable Mini Bullet Camera |

|
|
ADC-VC728PF Indoor/Outdoor 1080P Varifocal Bullet Camera |

|
|
ADC-V729 / ADC-V729AC / ADC-VC729P Outdoor 4MP Floodlight Camera ADC-V729 - Powered by 24V DC ADC-V729AC - Powered by 100V - 240V AC ADC-VC729P - PoE-Capable or 24V DC Powered |

|
|
ADC-VC736 Outdoor 1080P Large Bullet PoE-Capable Camera with Night Vision |

|
| ADC-VC826 |

|
|
ADC-VC827P Indoor/Outdoor 1080P Dome Camera |

|
| ADC-VC836 Outdoor 1080P Turret Camera with Night Vision |

|
|
ADC-VC838PF Indoor/Outdoor 1080P Varifocal PoE-Capable Turret Camera |

|
|
ADC-VC847PF Indoor/Outdoor 1080P Varifocal PoE-Capable Dome Camera |

|
|
ADC-VDB750 Full HD Wired Video Doorbell Camera |

|
|
ADC-VDB755P Full HD PoE-Capable Video Doorbell Camera |

|
|
ADC-VDB770 Full HD Wired Video Doorbell Camera with High Dynamic Range (HDR) |

|
|
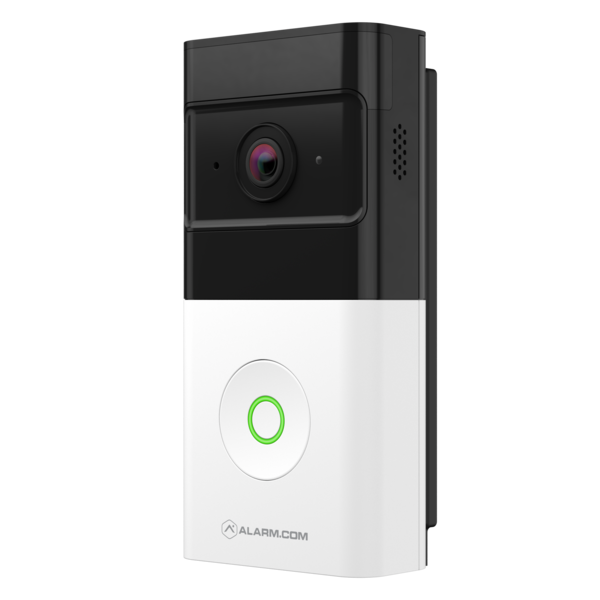
ADC-VDB780B Full HD 2MP Battery-Powered (Rechargeable) Video Doorbell Camera Also available in a bundle with the ADC-W115C Wireless Chime Module. Some installations will require the ADC-W115C to use this video doorbell camera. |
|
| If a cameras in the above list has no link it's because it is discontinued and no longer offered by Alarm Grid. | |


 Alarm.com Stream Video Recorders (SVR) offer customers the option of recording video 24/7. Without an SVR, Alarm.com limits the number of clip uploads available to each video customer per month. This allows Alarm.com to ramp up their cloud storage capabilities in line with the number of current and expected active video accounts. Without

 This is another example of how Alarm.com continues to innovate within the video surveillance space. Particularly when outdoor cameras are used, this feature can go a long way toward not just notifying of a break-in, but discouraging one. For Alarm Grid customers, you will need either our