How to Whitelist Your Alarm Monitoring Station's Number
Posted By Julia RossIf your alarm goes off, your monitoring station calls you right away to confirm it's real before dispatching help. Call screening apps and phone features are more common than ever, and they can't always tell that dispatch call apart from spam, so it might get silenced or blocked completely.
These tools are great at stopping robocalls and telemarketers, which is exactly the point of using them. The trouble is, your monitoring station's number may be unfamiliar to your phone too, so it can get caught in that same net. If the call is about a break-in or a fire, missing it could delay the help you need.
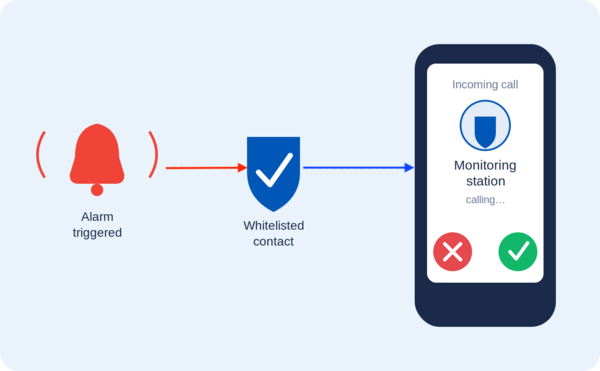
The good news is there's an easy fix. Whitelist your monitoring station's phone numbers (add them to your contacts or an "allowed" list) so they always get through, no matter what call screening tool you use.
How Call Screening Can Block Your Monitoring Station
Call screening comes in a few common forms, and most people use more than one at a time without realizing it.
- Phone-based screening apps. Google's Call Screen feature (built into Pixel phones) can automatically answer unknown calls with an AI assistant, ask who's calling, and hang up on anything it flags as spam. Apple's Silence Unknown Callers feature works differently. It sends any call from a number that isn't already in your contacts, recent calls, or Siri suggestions straight to voicemail without ever ringing your phone.
- Phone carrier services. Carriers like Verizon, AT&T, and T-Mobile all offer built-in spam protection, such as Verizon's Call Filter or T-Mobile's Scam Shield. These services label suspicious calls and can automatically send anything flagged as "spam" or "junk" to voicemail.
- Third-party call-blocking apps. Apps like Truecaller, Hiya, and RoboKiller work similarly. They compare incoming numbers against huge spam databases and block or silence calls that they deem suspicious.
Every one of these tools works the same basic way. Numbers that aren't already saved to your contacts (or added to the app's own allow list) get treated with suspicion. Since your monitoring station's number probably isn't saved anywhere on your phone, it can easily get caught in the same net as spam calls.
How to Whitelist a Number
Whitelisting is simple, and it works across almost every call screening tool. Save the monitoring station's phone number (or numbers in the case of stations like CMS) as a contact on your phone. Most call screening apps and phone features automatically let contacts through without screening them.
If a carrier or third-party app has its own separate "allow" or "safe" list (Verizon's Call Filter does, for example), add the number or numbers there too. Check the settings menu of whatever call screening app or feature you use to see if this option is available.
Alarm Grid's Monitoring Station Numbers
If you're an Alarm Grid customer based in the United States, you're monitored by Criticom, aka CMS, save all five of these numbers as contacts. A CMS call could come from any of them, so no single number is enough on its own:
- (800) 432-1429
- (800) 631-2299
- (714) 373-7000
- (800) 468-4640
- (800) 482-9800
If you're monitored by Rapid Response (Canadian customers), save this number:
- (800) 932-3822
CMS sends all text message and automated notifications from the short code 60281. If your phone or messaging app filters unknown senders, add this short code to your contacts or allow list as well, so you don't miss those alerts either.
Saving these numbers only takes a minute, but it makes sure a screening app never stands between you and help. If you're an Alarm Grid customer and aren't sure which monitoring numbers apply to your account, contact our support team at support@alarmgrid.com and we'll help you sort it out. we're here Monday - Friday from 9:00 AM - 8:00 PM Eastern Time. You can also call us at 888-818-7728 or visit our website to chat with a live agent (9:00 AM - 6:00 PM Eastern Time).
Not signed up for monitoring yet? Alarm Grid offers central station monitoring with no contracts, no activation fees, and no termination fees. Check out our monitoring plans and protect your home or business today.