Using the Qolsys IQ Siren With a Honeywell Alarm System
Posted By Michael GorisHi DIYers! Today, we're taking a closer look at the Qolsys IQ Siren. Specifically, we want to go into the details of how it is used when paired with a Honeywell Alarm System. As you may know, the IQ Siren is a Z-Wave device that pairs with most Z-Wave controllers, including Honeywell Panels.
What's interesting is that the Qolsys IQ Siren learns-in with Honeywell Alarm Systems not as a Z-Wave siren, but as a Z-Wave light switch. This is not the case with the Qolsys IQ Panel 2, which immediately recognizes the IQ Siren for what it is - a siren. This way, the siren automatically activates during audible alarm events, with no special automation functions required. The 2GIG GC2 and 2GIG GC3 Alarm Systems also properly recognize the IQ Siren as a siren. We even wrote an FAQ and shot a video about this.
But since Honeywell Systems view the Qolsys IQ Siren as a light switch and not a siren, things become a little bit tricky. After all, you want the siren to operate like a siren, not a light switch! Fortunately, there's a way around this problem. That is using Total Connect 2.0 to create smart scenes. These scenes will tell the siren to activate when the Honeywell System experiences an audible alarm event, and also to stop sounding when the system is disarmed and the alarm is cleared. How's that for a creative solution?
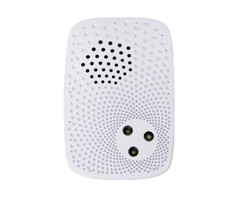
It might take a little bit of extra work to get the Qolsys IQ Siren working on a Honeywell Security Panel, but it really is worth it. This is a 105 dB siren with a built-in strobe light to provide a visual indication of an alarm. For a sound comparison, 105 dB is about as loud as a table saw. It blows the 85 dB sounder built into the Lyric and LYNX Touch Systems out of the water. It's much easier to install than a hardwired siren, and it is extremely versatile overall. This makes the IQ Siren a winning option for many DIY users.
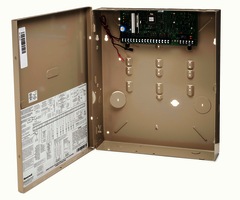
The Qolsys IQ Siren is great for any Honeywell System with a Z-Wave controller. Remember, the Lyric already includes a built-in Z-Wave controller, while the other panels need to have one added separately. The LYNX Touch Systems need a Honeywell L5100-ZWAVE Card, while the VISTA Panels need either a Honeywell VAM or a Honeywell Tuxedo Touch Keypad. It is also helpful to have access to Total Connect 2.0. If your monitoring plan does not include TC2, now is a great time to get started!
Please note that while you can create the necessary scenes from the panel and not from TC2 (with the exception of the Lyric system) we find that using TC2 is the easiest option. You can use the TC2 website or the mobile app on Android and iOS devices. We like using the website to create scenes. But if you prefer the mobile app, that's okay too!
 |
 |
 |
Once you have paired the IQ Siren and logged into your TC2 account, it's time to create the scenes! Most users will want three scenes. These are:
- A scene to activate the siren during a burglary alarm
- A scene to activate the siren during a fire alarm
- A scene to deactivate the siren during a panel disarm
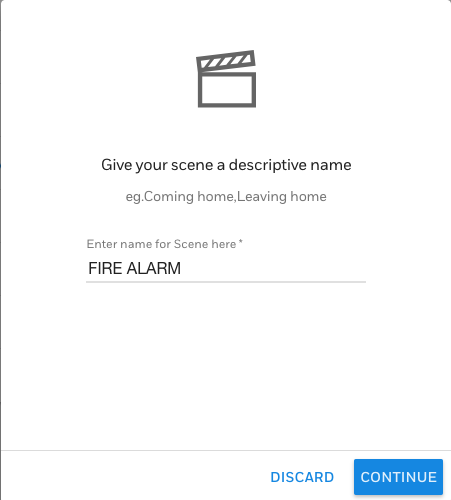
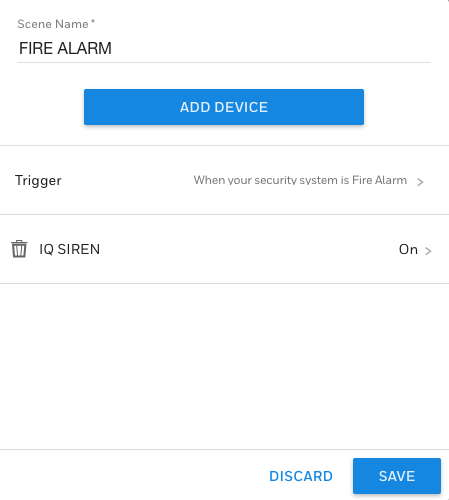
For our example, we will be creating a scene for the fire alarm. The other scenes will follow a similar process. Start by navigating to the Scenes Menu. Then choose Add Scene. You will then name your scene:
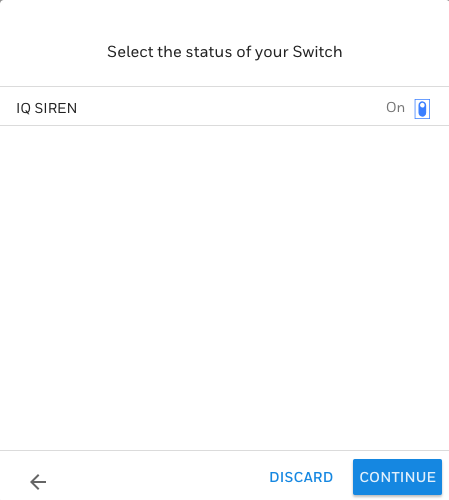
Then you will include the IQ Siren into the scene. It will be listed under "Others". Since we are setting it to activate during an alarm, we will set the device to On for this scene. But if you wanted to have the siren stop sounding when an alarm is cleared, then it would be set to Off.
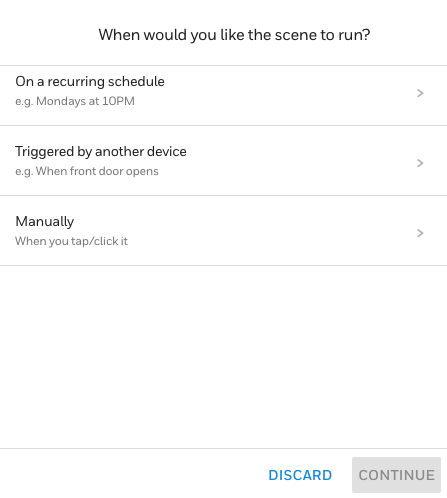
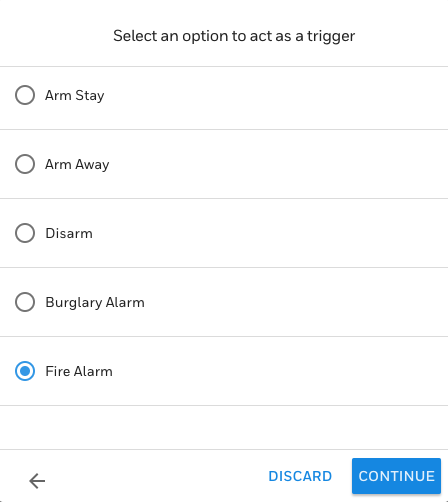
Next, you will set when the scene should run. Since it is being controlled by either a system alarm or a system disarm, you will choose "Triggered by another device". Then choose the appropriate function.
Finally, save your scene!
And that's it! Remember, you must do this for each individual scenario (burglary alarm, fire alarm, and to turn off upon disarm) if you want the IQ Siren to provide complete functionality. Alarm Grid monitored customers can always get further assistance by emailing support@alarmgrid.com. You can also call us at (888) 818-7728 during our normal business hours of 9am to 8pm EST M-F. If you aren't already monitored with Alarm Grid, make sure to press the orange Alarm Monitoring button at the top of this page. We look forward to working with you!


 It's no secret that customer-oriented businesses and security cameras are the perfect match. A video surveillance system is great for catching theft and dishonest bait-and-switch tactics that a small number of dishonest people may try to get away with. But what you might not think of is using security cameras to protect your company in case of a lawsuit.