2GIG eSeries Sensors Supervision Trouble Fix
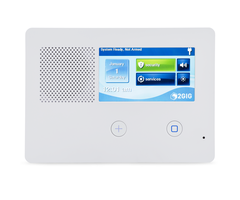
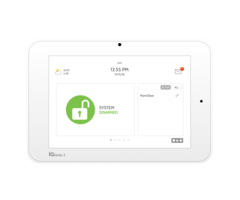
Posted By Michael GorisWe have heard reports lately of RF supervision troubles on 2GIG GC2e and 2GIG GC3e Systems, particularly for zones set up with encrypted 2GIG eSeries Sensors. Upon further testing, we have learned that eSeries Zones configured with incorrect Equipment Codes can cause supervision trouble.

Equipment Codes are somewhat of a unique quirk for 2GIG Security Systems. This numeric code identifies the model number of the wireless sensor that is being used. It should not be confused with the sensor's Serial Number, which is unique for each individual sensor. You set the Equipment Code when programming a new zone. Alarm Grid has helpful guides available for programming a GC2e zone and programming a GC3e zone.
The following table contains the current list of eSeries Equipment Codes:
| Product Name | Equipment Code |
|---|---|
| 2GIG eSeries Smoke Detector (USA) | 2058 |
| 2GIG eSeries CO Detector (USA) | 2860 |
| 2GIG eSeries Tilt Sensor | 2061 |
| 2GIG eSeries Flood Sensor | 2065 |
| 2GIG eSeries Shock Sensor | 2066 |
| 2GIG eSeries Repeater | 2067 |
| 2GIG eSeries Translator | 2068 |
| 2GIG eSeries Water Sensor | 2070 |
| 2GIG eSeries Thin Door/Window Contact | 2862 |
| 2GIG eSeries Recessed Door Contact | 2863 |
| 2GIG eSeries Glass Break Detector | 2864 |
| 2GIG eSeries Pet-Immune PIR Motion Sensor | 2869 |
| 2GIG eSeries Takeover Module | 2873 |
| 2GIG eSeries 4-Button Keyfob Remote | 2866 |
Before the rise of 2GIG eSeries Encrypted Sensors, the Equipment Code setting on a 2GIG System was largely seen as a formality. The general practice was to find the corresponding sensor if available, but generally not worry about it very much if you couldn't match it exactly. Some third-party sensors do not have their own Equipment Codes, and an "equivalent" is usually selected instead. For example, the Honeywell 5800MINI and the VERSA-2GIG can both just use the Equipment Code for "Existing Door/Window Contact", rather than finding an exact match.
But for the 2GIG eSeries Sensors, the Equipment Code selection is actually very important. Failing to set the exact corresponding equipment code can result in the system displaying an RF supervision loss trouble condition for the associated zone. This trouble is typically used to identify that the system has lost communication with the sensor, due to either the sensor powering down from a dead or missing battery, or the sensor being taken out of wireless range. But it seems that the GC2e and GC3e cannot properly supervise a 2GIG eSeries Sensor with an improper Equipment Code. More information can be found in this FAQ.
Missing Equipment Codes are more common for third-party sensors not produced by 2GIG. For a 2GIG Sensor, you should almost always have a direct Equipment Code selection available. And the 2GIG eSeries Sensors are still quite new, so 2GIG made sure to put in Equipment Codes specifically for each of these sensors. However, you may be unable to find an Equipment Code for a brand-new eSeries Sensor if your 2GIG System isn't on the latest firmware version. Adding support for new sensors is a major part of most 2GIG Firmware Updates. You can view our GC2e Firmware Page here, and our GC3e Firmware Page here.
If you need any help programming a GC2e or GC3e wireless zone, then make sure to check out the programming FAQs we linked earlier. Alarm Grid monitored customers can also receive additional free support by emailing support@alarmgrid.com. This is also a great email to use if you are interested in signing up for new monitoring service. We check our email from 9am to 8pm ET M-F. We look forward to hearing from you!

 This week's videos are centered around the