Panama City, FL Likely to Introduce False Alarm Fines
Posted By Michael GorisSecurity system users in Panama City, FL may soon have to think about alarm registration and newly enforced fines for false alarms. Reports indicate that city council members approved the first reading of a new ordinance, with a second ordinance reading set to follow sometime soon.
![]()
Concerned citizens and officials in Panama City, FL are considering a new city ordinance that would allow the city to fine businesses and residents who intentionally or unintentionally cause false burglary/intrusion alarms and/or false fire alarms. The purpose of such a new ordinance would be to make first responders more readily available and to cut down on a high rate of false alarms.
Vice Mayor of Panama City, FL Geoff McConnell said of false alarms, "This is a huge drain on resources that could be better spent responding to emergency calls... We don’t want to spend money on chasing these false alarms when the public isn’t going to benefit from the safety of them.”
According to McConnell, more than 11,000 total false alarms are reported in the city each year. That reported figure comes from combined reports from the Panama City Beach Police Department and Panama City Beach Fire Rescue. McConnell went on to state that most of the city's false alarms are from repeat offenders. The majority of these repeat offenders are neglectful businesses with faulty alarm systems.
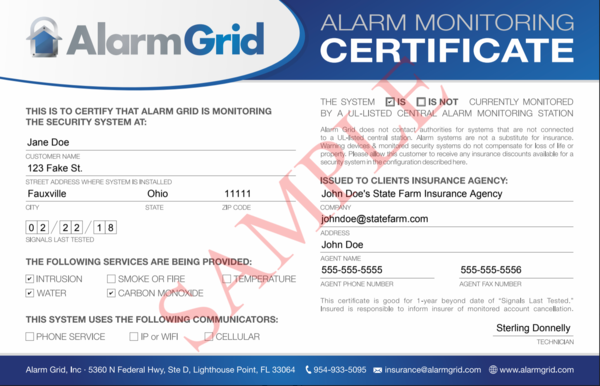
The ordinance being considered would not only enact fines for false alarm offenders, it would also make registration of alarm systems mandatory. In particular, alarm system owners, monitoring companies like Alarm Grid, and central stations, such as Alarm Grid's central station partner CMS, would be required to register with the city. Officials state that while the majority of alarm calls end up being false, responders are trained to respond to all calls with the same seriousness every single time.
Alarm Grid understands the frustration experienced by Panama City, FL officials. But we urge the city to take a step back and not enact a new drastic policy that would only make it more difficult for law-abiding citizens to get alarm systems. We think it's perfectly reasonable to require alarm systems to be registered, and it's also fair to fine users who repeatedly cause false alarms.
We hope that any registration fees for installing and maintaining security systems are kept to a minimum. Such fees make it more challenging for innocent end users to install alarm systems, and they are ultimately detrimental to alarm businesses. If the city decides that a registry of alarm systems will help prevent false alarms, then just please keep registration fees to a minimum. We understand that some small fees are necessary for maintaining the registry in the first place. But excessive fees will only deter everyday users from installing systems. We have found that low, reasonable fees, such as those in Pompano Beach, FL, tend to work best.
And if the city decides to fine users who cause false alarms, we hope that is also done within reason. One possibility is to give a warning for the first false alarm on a registered system, and then fining users for repeated offenses, or for those who fail to register their systems. Alarm Grid takes false alarm prevention very seriously, and we would expect other monitoring companies to do the same. We do our part to make sure that our customers are properly trained in this aspect of using their systems, and we highly doubt that anyone monitored through Alarm Grid is repeatedly making the same mistake. However, we do realize that mistakes happen, so we ask any city considering a false alarm policy to consider the issue with some leniency and understanding. Remember, the overwhelming majority of end users are not intentionally causing false system alarms.
If you want to learn more about false alarm prevention, we strongly recommend checking out these tips to prevent false alarms. That link is a great resource whether you are monitored through Alarm Grid, are considering signing-up for alarm monitoring, or even if you are monitored through a different company. We also invite any Alarm Grid monitored customers, as well as those who are still exploring their options for alarm monitoring, to email our team at support@alarmgrid.com to learn more about false alarm prevention. We are here to check your emails during our usual business hours of 9am to 8pm ET M-F. As always, we look forward to hearing from you!
 As I mentioned