Alarm Grid Makes Home Automation Easy!
Posted By Michael GorisDid you know that your Alarm Grid Security System most likely has smart home automation capabilities? While keeping your home or business safe with trusted monitoring service is the main function of an alarm system, the world of home automation is easily accessible and very exciting.
As a quick recap for anyone who may not be familiar with automation or the concept of a "smart home", it refers mostly to two (2) somewhat related ideas.
1) Being able to control devices remotely (aka, while you are away from the premises).
2) Being able to have devices activate automatically based on a schedule and/or predetermined events, with no action required on your part.
These devices that we speak of are collectively referred to as "smart devices". There are all sorts of smart devices that you can integrate into your automation network. Some examples include:
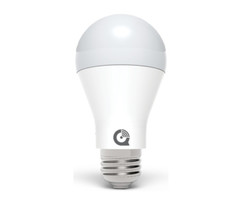
- Smart Lights - Illumination devices that you can control remotely and turn ON or OFF automatically. These come in many forms, including light bulbs, in-wall switches, plug-in modules, and even wall outlets. Smart lights are perfect for making it appear as though someone is present while away or on vacation.
- Smart Door Locks - Access control devices that you can operate remotely and LOCK or UNLOCK a door automatically. These are typically deadbolt devices that prevent unauthorized individuals from gaining access to your home or business. In addition to remote operation, these devices can also be automated based on a schedule or the condition of other devices in your home.
- Smart Thermostats - Temperature control devices that you can be adjusted locally or remotely and INCREASE or DECREASE the temperature. The operation of these devices can also be automated based on a schedule or event. These wire in directly with the HVAC system in your home or business. The setup is surprisingly simple, and it can be easily completed by a DIY user.
- Smart Water Valves - Water shut-off switches that you can trigger locally or remotely. If you CLOSE the valve, then the flow of water will be stopped. If you OPEN the valve, then the flow of water will proceed when a faucet is activated. Smart water valves can be very important if the building is prone to flooding or water damage. These devices can be automated based on the activation of a flood sensor.
Now that you know a little more about smart devices, you're probably wondering how to get started. The first thing that we advise doing is selecting a smart protocol to build around. This refers to the type of wireless communication that the individual smart devices will use to speak with the centralized hub.
The smart hub, also known as the controller, is the single most important piece of equipment in any smart home. All of your individual smart devices will communicate their status with this centralized hub. And when you go to control your devices remotely, all incoming commands will pass through the hub before ultimately being forwarded to the individual device. Without the smart hub, home automation is impossible.

When you select a smart hub, you are also selecting the wireless protocol for your network. All of the individual smart devices in your network must use that same wireless protocol to communicate successfully with the main hub. As a result, your smart hub determines which devices can (and cannot) join the network.
A great aspect of most security systems sold by Alarm Grid is that they can double as smart hubs for your automation devices. The panels that we sell support the Z-Wave wireless communication protocol. Virtually any Z-Wave device can be enrolled with an alarm system that supports Z-Wave communication.
Once you have a Z-Wave device enrolled with your system, a few things become possible:
1) Operate your programmed Z-Wave devices on the main system display. This is the same place where you arm and disarm your system.
2) Control your programmed Z-Wave devices remotely using the same platform you use for controlling your system, namely, Alarm.com or Total Connect 2.0. This requires monitoring service.
3) Build complete smart scenes, in which multiple Z-Wave devices are controlled simultaneously. This is done through either Alarm.com or Total Connect 2.0. Again, alarm monitoring service is required.
While all of this certainly sounds exciting, we understand that it may seem a little daunting at first. If you are already an Alarm Grid monitored customer, then there's a good chance that your system is already capable of serving as a central hub for your Z-Wave network.
The following systems readily support Z-Wave communication, with no add-ons being required:
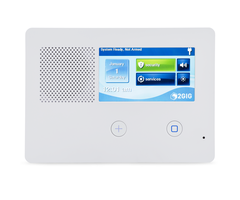
- Honeywell Lyric Alarm System
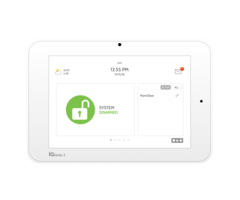
- Qolsys IQ Panel 2 Plus
- Original Qolsys IQ Panel 2
- 2GIG Security Systems
Additionally, the following panels can be upgraded to support Z-Wave communication:
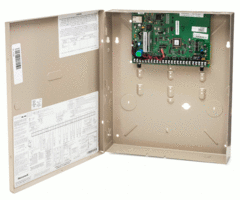
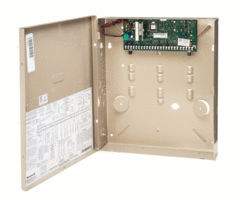
- Honeywell VISTA Systems
- Honeywell LYNX Touch Systems
- Interlogix Alarm Systems
- Any panel that supports an Alarm.com SEM
Of course, there are other options besides Z-Wave for home automation. If you are an iOS user, then you might consider getting a security panel that can support the robust and powerful Apple HomeKit automation platform. The Honeywell Lyric is a great option for this. You can learn more about HomeKit in this prior post.
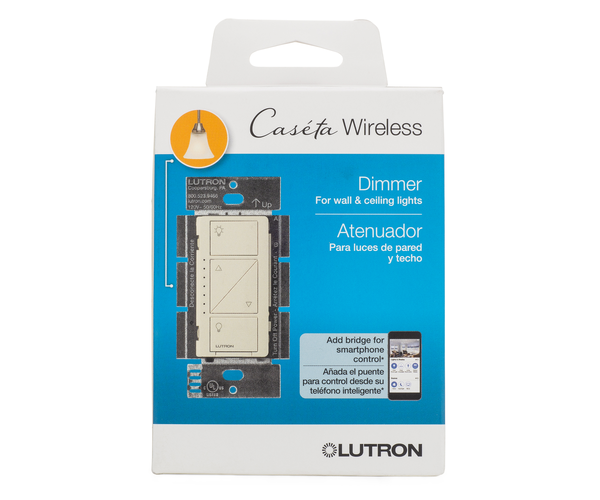
Another option for lighting control is the Lutron devices that use their own communications protocol. Lutron is known for their tight integration with Alarm.com, and they certainly make for a great starting point if you are looking to establish a smart lighting setup. More info on using Lutron with Alarm.com can be found here.
Alarm Grid is about more than just security. We can help you establish the perfect automation network for your home or business. Getting started with smart home automation is easy, and it's a fantastic way to get the most out of your security system. Whether you go with Z-Wave, Apple HomeKit, Lutron, or use a combo setup, we will be there to help you every step of the way.
If you aren't already monitored by Alarm Grid, now is a great time to get started. Smart home automation is included with all of our Silver, Gold, and Platinum Level Plans. This post will tell you all about our monitoring plans so that you can make an informed decision. Alarm Grid monitored customers are provided with free technical support online and over the phone. This includes helping you create the perfect smart home.
The best way for an Alarm Grid monitored customer to get help with all of their smart home questions is to email support@alarmgrid.com or call (888) 818-7728. Our support technicians will be happy to help you in building your smart home network. Remember that our business hours run from 9am to 8pm ET M-F, so make sure to plan accordingly. We look forward to hearing from you soon!
 There are many considerations you will want to make if you are just getting into the market for the first time. You should start by thinking about which