Using Honeywell 5800 Sensors With the Honeywell Lyric
PostedIf you own a Lyric system and have not already done so, please read this important update regarding AlarmNet360 changes that affect your panel. It may be time for an update!
A great way to build out your Honeywell Lyric is with Honeywell 5800 Sensors. These are simple, 345 MHz wireless sensors that you can easily enroll with the system for security, life-safety, and environmental monitoring. They are perfect for expanding your system and making it more robust.

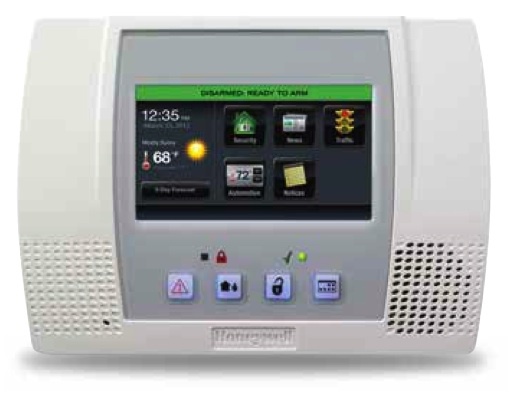
When you want to pair a Honeywell 5800 Sensor with the Lyric, the process is very straightforward. Put the Lyric in its auto-enrollment mode by choosing Security > Tools > enter Installer Code (default 4112) > Program > Zones > Add New > Serial Number. Make sure the RF Type on the right-hand side is set to 5800. Then activate the sensor either by faulting it or triggering its cover tamper switch. The Lyric should beep to confirm that it received a signal transmission. Then activate the sensor a second time to have the Lyric display the Serial Number. The third activation will confirm the Serial Number and return you to the screen where you can configure the zone settings.

Programming the zone settings for the sensor is actually quite simple. Depending on how you enrolled the sensor, you may need to adjust the Loop Number. This is almost always the case if you enrolled the sensor by activating its tamper switch. Refer to the instruction manual for the 5800 Sensor to determine which Loop Number to use.
The two (2) Zone Descriptors and the Device Type serve as the name for the sensor. You should choose a name that will help you identify the sensor, e.g. "Front Bedroom Motion Sensor", "South Hallway Door", etc. The Response Type determines how the system responds when the sensor is faulted. See our list of Lyric Response Types for more info.
Alarm Report should be set to Yes if you want the system to report out through AlarmNet to a Central Station if the zone causes an alarm on the system. That is an essential component of alarm monitoring services. Chime is optional, and it has the panel emit any one of several available sounds when the zone is faulted. Supervision tells the panel to look for an RF check-in signal from the sensor periodically to ensure that it is online. Click Save in the bottom-right after you finish adjusting the settings.

Keep in mind that only uni-directional (one-way) sensors from the Honeywell 5800 Series can be used with the Lyric. This leaves out bi-directional devices like the Honeywell 5800WAVE Siren, the Honeywell 5828 Keypad, and the Honeywell 5800RL Relay Module, so make sure you do not buy those for the Lyric. But you still have a lot of excellent sensors and security devices to choose from.
Below is a list of the Honeywell 5800 Sensors that you can use with the Honeywell Lyric:
|
Sensor Name |
Notes |
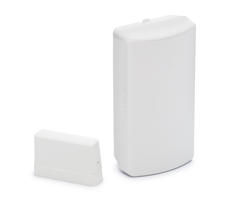
Honeywell 5800MINI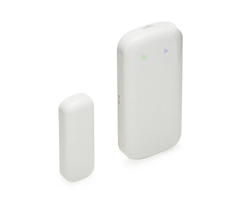 |
Door/Window sensor. Uses Loop 1. |
Honeywell 5800PIR-RES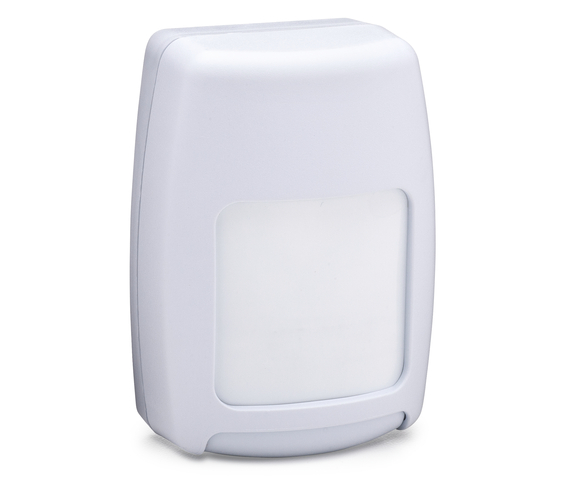 |
PIR motion sensor. Uses Loop 1. Coverage Area: 35' x 40' |
Honeywell 5816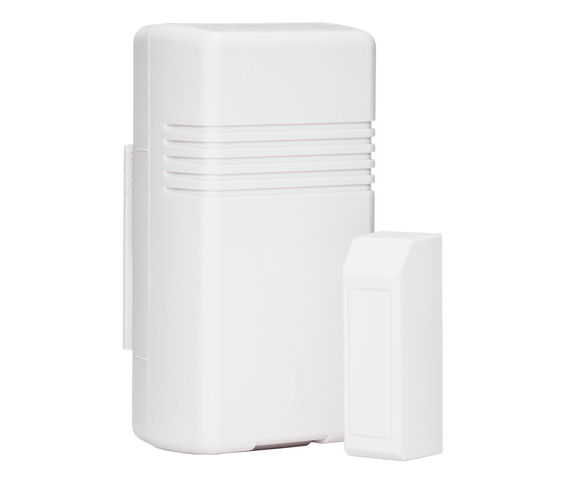 |
Door and window sensor. Loop 1 = Terminal Block for NC Contact Loop 2 = Reed Switch |
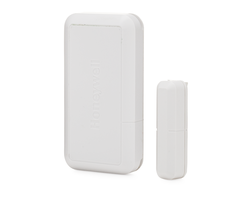
Honeywell 5811 |
Door and window sensor. Uses Loop 1. |
Honeywell 5800C2W |
9-zone wired to wireless converter. Allows hardwired sensors to communicate with the Lyric as wireless devices. All zones use Loop 1 and a unique Serial Number ID. |
Honeywell 5800CO |
Carbon monoxide sensor. Loop 1 = CO Detection Loop 2 = End of Sensor Life (separate programming only required on TURBO and other V-Plex panels) |
Honeywell 5800COMBO |
Combination, smoke, heat, CO, and low-temperature sensor. Uses up to five (5) zones on the Lyric Panel. Has two (2) Serial Numbers for enrollment purposes. Loop 1, SN 1 = Smoke/Heat Detection Loop 2, SN 1 = Smoke/Heat Maintenance Loop 3, SN 1 = Low Temperature Detection Loop 1, SN 2 = CO Detection Loop 2, SN 2 = End of Sensor Life (separate programming required only on TURBO and other V-Plex panels) |
Honeywell 5800FLOOD |
Flood and temperature sensor. Loop 1 = Low Temperature Detection Loop 2 = High Temperature Detection Loop 3 = Flood Detection |
Honeywell 5800MICRA |
Recessed window sensor. Uses Loop 1. |
Honeywell 5800PIR |
PIR motion sensor. Loop 1 = Low Sensitivity Motion. Loop 2 = High Sensitivity Motion. Loop 3 = Low Temperature Detection Coverage Area: 35' x 40' |
Honeywell 5800PIR-COM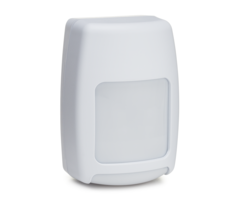 |
Commercial PIR motion sensor. Loop 1 = Low Sensitivity Motion Loop 2 = High Sensitivity Motion Loop 3 = Low Temperature Detection Coverage Area: 60' x 80' |
Honeywell 5800PIR-OD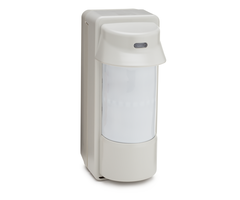 |
Outdoor PIR motion sensor. Uses Loop 1. |
Honeywell 5800PIR-OD2
|
Outdoor PIR motion sensor. Uses Loop 1. |
Honeywell 5800RP |
Wireless repeater for Honeywell 5800 Sensors. Does not require enrollment, but can be assigned a single zone for RF supervision, low-battery, AC loss, and RF jam detection. This is done using Serial Number 1 with Loop 1, with DIP Switch 2 set in the OFF position. Can also use up to four (4) separate zones for supervision when DIP Switch 2 is set to ON. This is required for UL installations. |
Honeywell 5800RPS |
Recessed door/window sensor. Uses Loop 1. |
Honeywell 5800SS1 |
Shock sensor. Uses Loop 1. |
Honeywell 5802MN |
Medical alert button. Uses Loop 1. |
Honeywell 5802MN2 |
Medical alert button. Uses Loop 1. |
Honeywell 5802WXT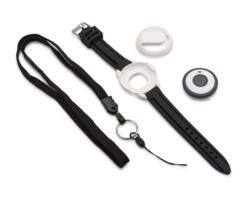 |
Panic button. Uses Loop 1. |
Honeywell 5802WXT-2 |
Panic button. Uses Loop 1. |
Honeywell 5806W3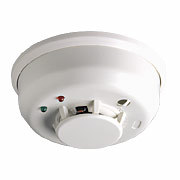 |
Smoke detector. Uses Loop 1. |
Honeywell 5808W3 |
Smoke and heat detector. Loop 1 = Smoke & Heat Detection Loop 3 = Low Temperature Detection |
Honeywell 5809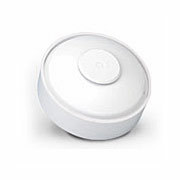 |
Fixed temperature and rate-of-rise heat detector. Uses Loop 1. Alarm occurs when the temperature exceeds 135 degrees Fahrenheit, or when the temperature rises more than 15 degrees Fahrenheit per minute. |
|
Honeywell 5809FXT |
Fixed temperature heat detector. Uses Loop 1. Alarm occurs when the temperature exceeds 135 degrees Fahrenheit. |
Honeywell 5809SS |
Fixed temperature and rate-of-rise heat detector. Uses Loop 1. Alarm occurs at 135 degrees Fahrenheit or when the temperature rises more than 15 degrees Fahrenheit per minute. |
Honeywell 5814 |
Door and window sensor. Uses Loop 1. |
Honeywell 5815 |
Door and window sensor. Loop 1 = Terminal Block for NC Contact Loop 2 = Reed Switch |
Honeywell 5816MN |
Door and window sensor. Loop 1 = Terminal Block for NC Contact Loop 2 = Reed Switches |
Honeywell 5816OD |
Outdoor door and window sensor. Loop 1 = Terminal Block for NC Contact Loop 2 = Reed Switch |
Honeywell 5817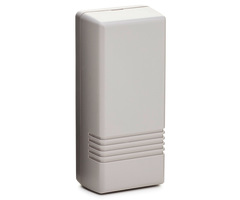 |
Three (3) zone door and window sensor & transmitter. Loop 1 = NC or NO (DIP Switch Selectable) unsupervised. It does not use an End of Line Resistor (EOLR) Loop 2, 3 = NC Only. Both are unsupervised with no EOLR used |
Honeywell 5817CBXT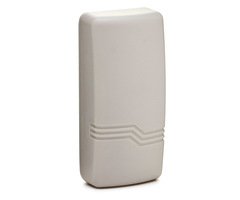 |
Three (3) zone commercial transmitter. Loop 1 = Two (2) Terminals; Primary Loop supervised by 470k Ohm (yellow, purple, yellow, gold) EOLR. Resistor must ALWAYS be installed, even if Loop 1 is not programmed. If Loop 1 is used as a burglary zone, then Loop 4 must be programmed as a separate zone for Cover Tamper protection. Loop 2 = NC Reed Switch Loop 3 = Two (2) Terminals; NC Loop unsupervised, no EOLR required |
Honeywell 5817XT |
Three (3) zone door and window sensor & transmitter. Loop 1 = NC or NO (DIP Switch Selectable) unsupervised with no EOLR required Loop 2, 3 = Two (2) Terminal Blocks, NC Only |
Honeywell 5818MNL |
Recessed door and window sensor. Uses Loop 1. Not suitable for use in metal doors |
Honeywell 5819 |
Three (3) zone shock processor. Loop 1 = NC for Inertia Style External Shock Sensor. This input provides a suitable fast loop response of from 1ms to 20ms, based on dip switch setting Loop 2 = Reed Switch Loop 3 = NC for Wired Contact, unsupervised with no EOLR required |
Honeywell 5819S |
Shock sensor and contact sensor. Loop 1 = Built-in Inertia Style Shock Sensor Loop 2 = Reed Switch Loop 3 = NC for Wired Contact |
Honeywell 5819WHS |
Three (3) zone shock processor. Loop 1 = NC, Built-in Inertia Style Shock Sensor Loop 2 = Reed Switch Loop 3 = NC for Wired Contact |
Honeywell 5820L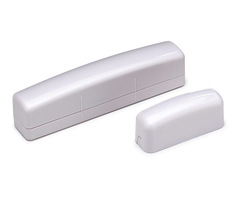 |
Slimline door and window sensor. Uses Loop 1. |
Honeywell 5822T |
Garage tilt sensor. Loop 1 = NC for Wired Contact, unsupervised, no EOLR used Loop 3 = Tilt Switch |
Honeywell 5834-2
|
Two (2) button key fob. Dual-button inputs allowed. Uses three (3) loops total, for a possible three (3) inputs. Can only be used with the Lyric in Low-Security Mode (Green LED) |
Honeywell 5834-4 |
Four (4) button key fob. Dual-button inputs allowed. Uses two (2) Serial Numbers, which both use Loops 1, 2, 3, 4. Up to eight (8) inputs possible. Can only be used with the Lyric in Low-Security Mode (Green LED) |
Honeywell 5834-4EN |
Four (4) button key fob. Dual-button inputs allowed. Uses two (2) Serial Numbers, which both use Loops 1, 2, 3, 4. Up to eight (8) inputs possible. Can only be used with the Lyric in Low-Security Mode (Green LED) |
Honeywell 5853 |
Glass break sensor. Uses Loop 1. |
Honeywell 5869 |
Commercial panic switch. Uses Loop 1. Latches when tripped, key (provided) needed to reset it after it is tripped |
Honeywell 5878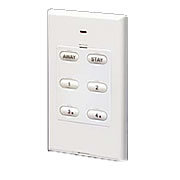 |
Six (6) button key fob. Uses two (2) Serial Numbers, which both use Loops 1, 2, 3, 4. Up to eight (8) inputs possible. |
Honeywell 5898 |
Dual-tec motion sensor. Loop 1 = Low Sensitivity Motion Sensor. Pet immunity is available for this loop. 50lb or 100lb pet immunity, selectable via DIP Switch 1 Loop 2 = High Sensitivity Motion Sensor. Loop 3 = Temperature Sensor (High or Low, DIP Switch Selectable) |


 The Basics of Door Alarm Sensors
 Other Programming Settings